Showing posts with label architecture. Show all posts

Sunday, February 28, 2021

New Art Studio In Progress

There were a lot of things we immediately loved about our new house (which led to us placing an offer on it in the first place). The layout was just wonderful, with a small office (big enough for my husband, still currently working-from-home during the COVID-19 pandemic) on the main floor, a roomier kitchen than our old house, and a carpeted family room just off the kitchen, so I could easily see our daughter playing in the playroom from the kitchen. Then there were things we loved the potential of, but which just weren't quite right... yet. And the basement was one of those things.

The basement was already finished (which other houses we were considering did not have), and it had a walk-out to the nice, large, fenced-in backyard. But it was a completely open floor plan, and we wanted to divide the space into an art studio/office for me, a guest room, an additional playroom for our 1-year-old, and a "pantry"/storage space with room for the extra fridge/freezer the previous owners left behind. It took some doing to figure out how best to orient those rooms in the space, but we settled on a layout that worked well for us, and over the course of several weeks, we were able to see our vision realized with the help of a local contractor.

Here are some pictures of what the basement looked like before we had it sectioned off with more walls:


The previous owners had a couch in the space where my new studio would go (which we paid for them to leave behind for us, and which we moved upstairs into the family room). There is also an electric fireplace built into the wall, and two windows looking out on the backyard, in my new studio. I love the natural light! (Though I admit, so far I've only had a chance to come down here to work after our daughter goes to bed, which is after it's already dark out. Thanks winter!)

And here's the room after the contractor was done building us new walls (but before we moved in all our furniture/stuff):


I was really excited to have a single room that could fit all of my "projects" - both studio art and graphic design. In our old house, I originally had my computer all the way up on the top floor, and my studio in the basement, and packing materials scattered in both places. When an Etsy order came in and I had to print notecards, package them for shipping, and ship them out, I had to walk up and down two flights of stairs to gather everything I needed. I created my art in one space, and scanned the artwork on an entirely different floor of the house; I then stored finished artwork in yet another room/closet. (I wrote a bit about trying to figure out how to organize my artwork/art supplies in this blog post.) Then, once our daughter was born and the COVID-19 pandemic shifted my husband to all-online school and then work, we rearranged the house a bit, moving both his desk and my desk down to the basement. I liked having my computer on the same floor as my studio... so when we decided to move, that was one of the first things I tried to figure out - how to make it work so that I could have a COMBO studio/office, instead of housing my artwork and my computer/desk in two different spaces. My BFA was a double concentration in graphic design and watercolor, and a decade later I continue to do both. I combine "fine art" techniques and digital techniques when I design patterns on my computer, print them out, trace them onto watercolor paper, paint them with traditional methods, scan them back to the computer, and resize them for printable notecards. Or when I draw colored pencil artwork using the computer to help find source material of different types of flowers. Even just creating art and then writing about the art on this blog, or uploading designs to Etsy to sell, requires the use of a "studio" and an "office". The more I thought about it, the less sense it made to physically separate these two sides of my work. I wanted a room that would be both (which I've started to call my "studio" IRL just so it's easier to differentiate in conversation from my husband's "office"). 

I measured all the furniture I wanted to fit into "my studio" and made sure that it would all fit in a to-scale floorplan I made in Adobe Illustrator, before we had the contractor start work on the basement. Once I was sure the room would be big enough and everything would fit (and that it wouldn't detract from other things we wanted to also have in the basement to have my studio so big), we went for it. (Side note: I'm so lucky to have a partner who supports my artwork and my desire to have this big space all just for "my" projects. I felt a little guilty taking up so much of the basement for my studio (especially since, as a new mom, I'm not using it very much these days), but he was always all for it, even when it meant taking the cool electric fireplace/space heater the previous owners had installed in one of the basement walls.)


The room is 21' x 14', and fits 1) my L-shaped computer desk with iMac, HP Officejet printer, and three storage towers of printer paper, photo paper, notecard paper, and envelopes, 2) my easel (which never even fit in the basement of our last house, because it was too tall for the short basement ceiling height), 3) a small desk perfect for colored pencil drawings, 4) five bookcases to organize art supplies and office supplies, as well as extra wall space for organizing gift wrap supplies and other craft supplies, 5) a sewing cabinet (which I don't even use and is so far purely aspirational), and 6) my large folding table in the center of the room, which I use for watercolor paintings and large-scale projects. There is also (hopefully) room for a shelving unit/cabinet for storing large art paper (drawing paper, newsprint, watercolor paper, and unused canvases), but that it yet to be purchased and/or built.

Here are some pictures of the room thus far, as I've started to unpack and organize everything:


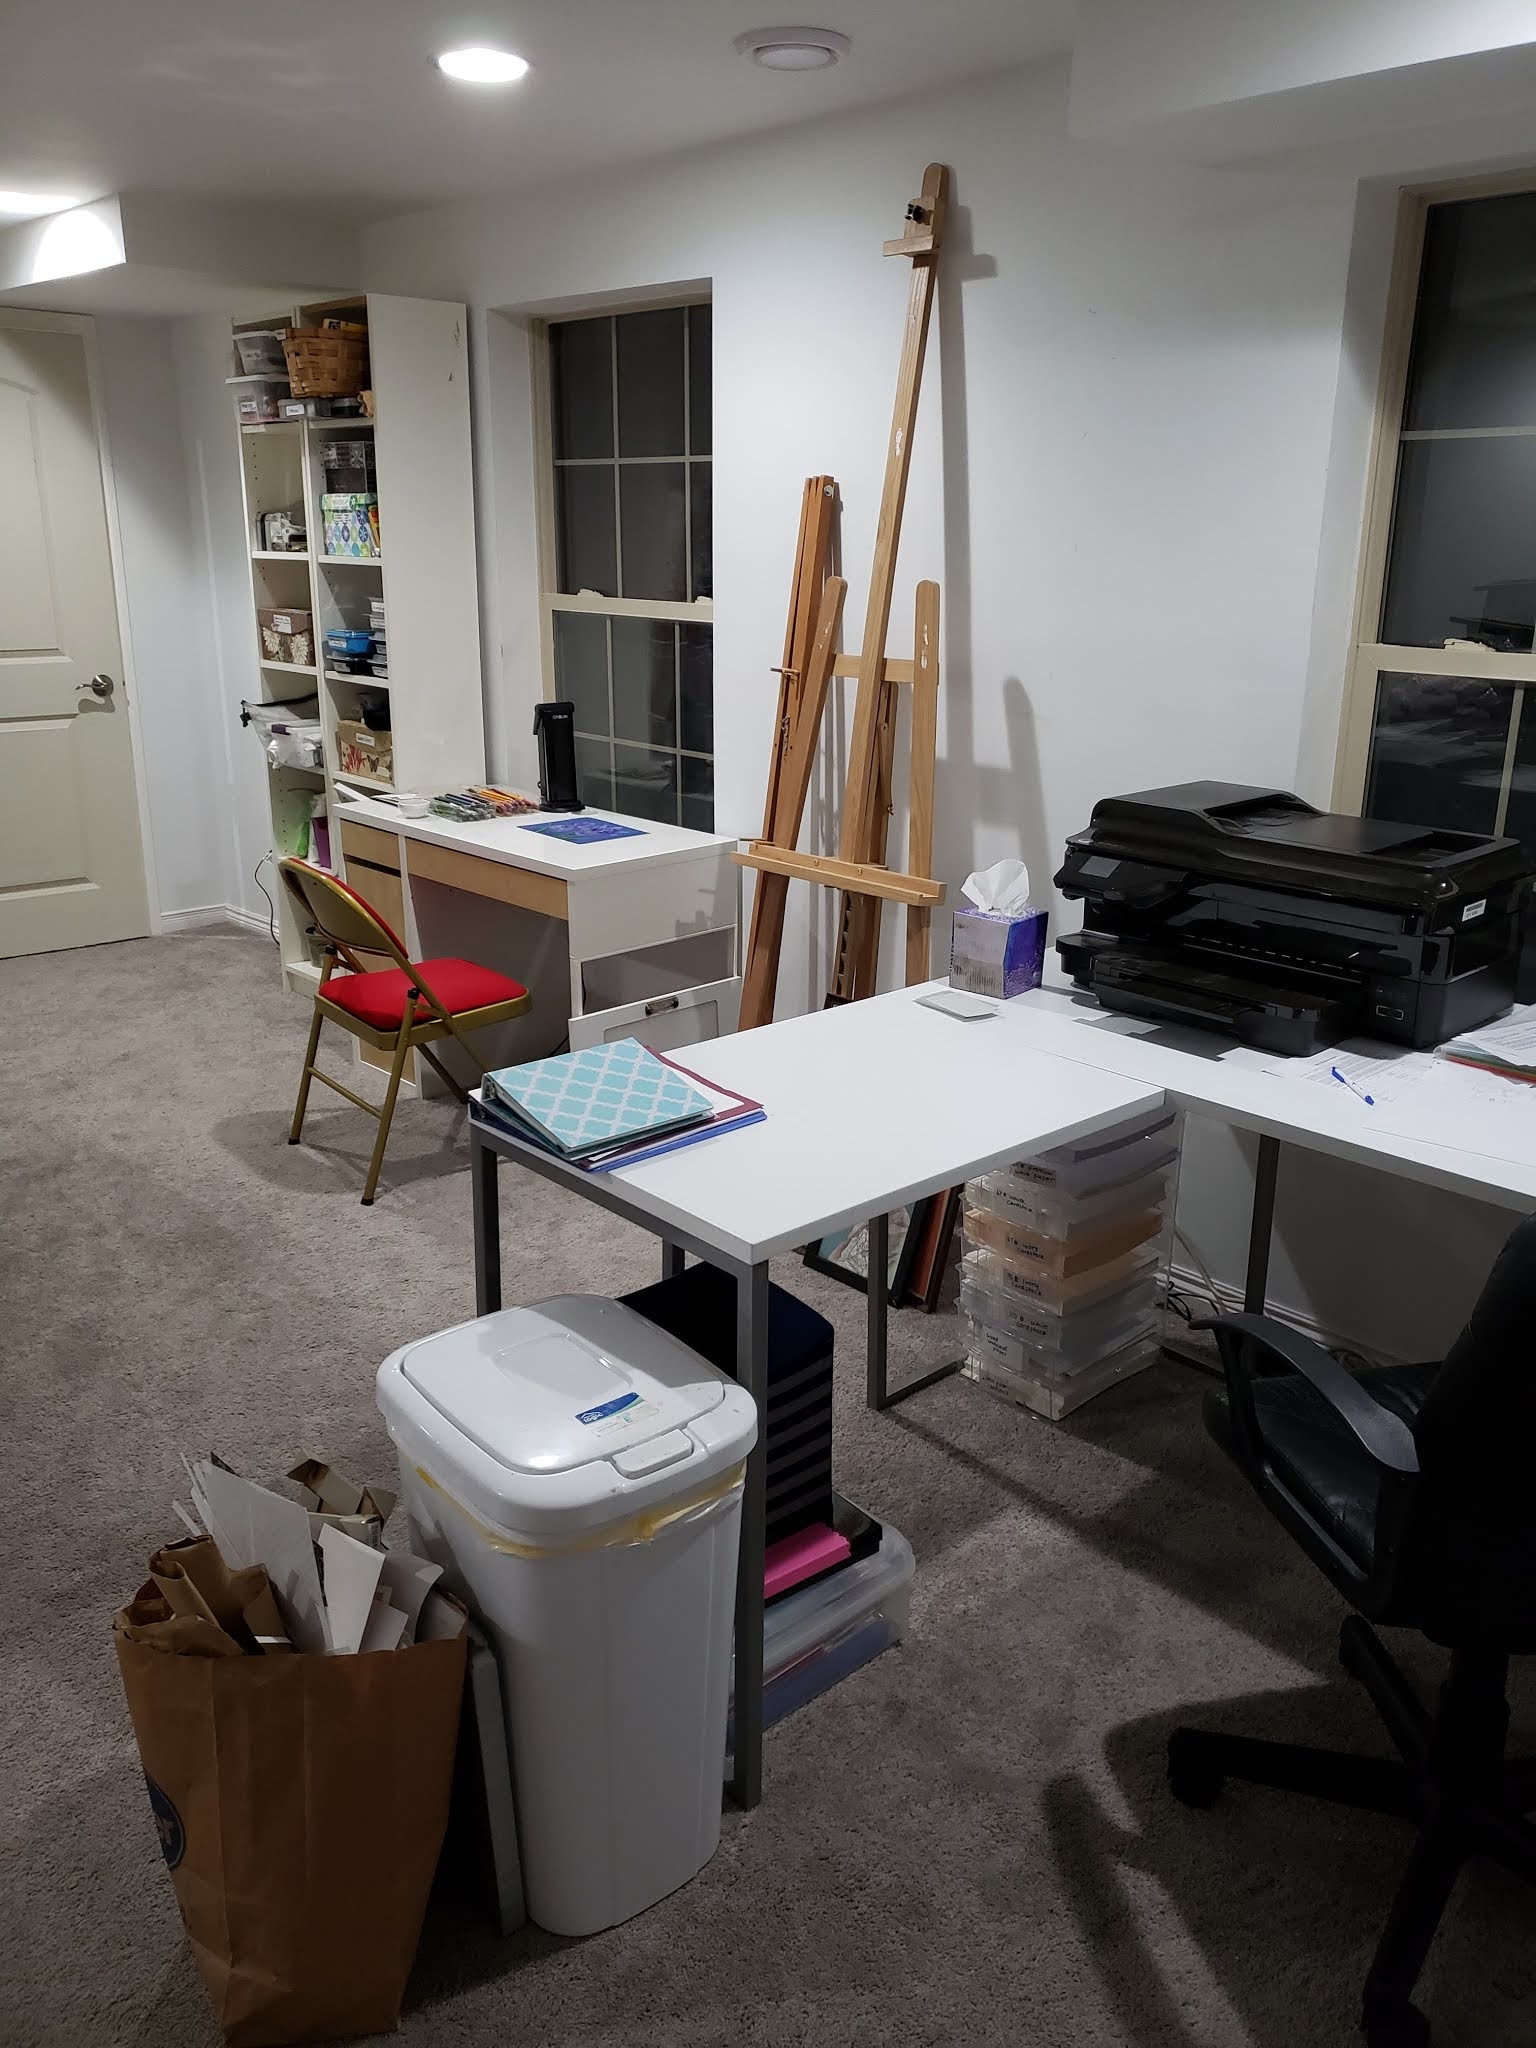


It's not done yet - obviously some things are still in boxes, unpacked. I have to figure out what exactly I'm going to do to store my art paper and other art supplies that are too large for the bookcases. My husband and his sister want to build me a cabinet, thinking that would be easier than purchasing one (they are quite expensive, and quite heavy, and we aren't sure how we'd get it down there if we didn't... build one in the room or near the room). So right now the going plan is to wait until the weather warms up, and then hopefully we can build some shelves or a cabinet, cutting the wood to size in the garage or on the back patio right outside my studio, and then bringing the pieces inside and assembling it in the room. But we will see what the warmer weather brings (assuming we ever get any... February in Michigan always has one feeling a bit pessimistic). :)

I'm so happy I got everything to fit. I just know having everything in the same room will really streamline my creativity/productivity - which is, as any parent will tell you, so important when your time to get not-parenting things done is so much less than it used to be before kids! :)

Friday, June 1, 2018

Varnishing Acrylic Paintings

I recently finished up my sister-in-law's Charlotte Skyline acrylic painting with an isolation layer and two layers of varnish, to help protect the three large canvases while they are shipped to her and on display in her apartment for years to come.

Because I had never done this step to an acrylic painting before, having only minimal experience with acrylic and using only making small paintings (or ones not even on canvas, but just on acrylic paper), I first had to buy the supplies.

I bought a new flat brush, Golden polymer varnish, and Golden soft gel gloss. (I also bought Golden soft gel matte, thinking I could use that as an isolation layer - only to later read on the label "DO NOT USE AS AN ISOLATION LAYER," at which time I went out and bought the soft gel gloss as a replacement.)

I used the Golden brand website to find instructions for how to apply the isolation layer and varnish layer. The directions were also on the labels.

I applied an isolation layer to my "test painting" first - "Find a Proverbial Mountain," the much smaller acrylic painting I completed in November 2016. I let that dry for a couple days, and then added a layer of varnish on top. When that painting survived just fine with no ill effects, I decided I was ready to try tackling the large skyline triptych.


Assembling my materials

Adding a layer of varnish to my painting

I followed the same procedure on the larger painting, following the directions on the label for ratio of soft gel gloss to water, and applying it in a thin isolation layer. It was white at first, but dried clear.


After I'd given that a couple days to dry, I went in with the polymer varnish (also diluted with water according to the label instructions). I did one coat to all three paintings, let it dry for 24 hours, and then added a second thin coat on top.


I then let it sit on my table for two weeks to make sure it was all fully dried and cured. I knew I would have to wrap the canvases in plastic and bubble wrap (not to mention packaging them in cardboard boxes) in order to ship them to North Carolina, so I wanted to make sure they were completely dry and ready before I did any of that.

They turned out great! And now I have the supplies on hand to do the same steps to any future acrylic paintings as well, to make sure they're all protected and will last a long time.

Sunday, May 20, 2018

New York City Sketches

I decided to make some architecture sketches recently, spurned on by three things:

1. The success I had a couple years ago making a few architecture sketches of photos taken on other vacations (the Notre Dame in Paris, Chenonceau Castle, and the Rialto Bridge in Venice - the last of which is still available for sale, here on Etsy), and

2. The success I had painting the Charlotte Skyline recently in the commissioned triptych acrylic I created earlier this year, and

3. Going through photos and finding all the best architecture pics of our recent trip to NYC for all those recent blog posts.

I thought it would be fruitful and fun to pull a few of the best photos out and try to draw some of the iconic buildings, particularly the One World Trade Center, the Empire State Building, and the Statue of Liberty. I also had some thin Koh-i-noor magic pencils (tri-color pencils that have three different shades in a single pencil) I've been meaning to try out for ages, and knew from my experience drawing the Notre Dame, Chenonceau, and the Rialto Bridge that magic pencils could make for some successful drawings. So I gathered my supplies - the colored pencils, a ruler, white paper, a pencil sharpener, and my source photographs - and measured out 5"x7" areas to draw within.

But the sketches didn't go as well as I wanted them to. Part of my struggle was undoubtedly that architecture drawings are not my typical subject matter, and even though I did recently draw and paint a Charlotte Skyline, I did a lot of preplanning, measuring, remeasuring, and using ratios and rulers to make sure that my sketch was as accurate as possible, rather than drawing it freehand. For these smaller pictures, I was going for a looser, freehand style, and then found myself unsatisfied with it.

Another struggle was that I wasn't used to the thin magic pencils. Though I've used the tri-tone pencil type before for architecture drawings, those pencils were thicker, meaning that my lines couldn't be as precise, due to the constraints of the materials. With the thinner pencils, my lines could be more precise - and so I thought they looked a little too rough when they weren't as precise as I wanted.

Finally, I had other projects I was also concurrently working on - finishing up the varnishing layers on the Charlotte Skyline painting (blog post on that process coming soon), as well as planning and starting other symbolic floral colored pencil drawings, and working on my novel(s) (again, more to come about those in future blog posts), so my heart wasn't totally "in it" when it came to these sketches. I was more excited about those other projects, and so when I forced myself to still work on these small sketches anyway, while NYC was still relatively fresh in my mind, I just wasn't feeling it.

It really doesn't take much for me to lose confidence or lose heart in an art project I'm doing - it can even just be other feelings or experiences I've had that day that are making me sad or self-conscious or anxious, totally unrelated to the artwork at hand. Once I start having doubts or feeling like the piece is not going the way I want it to, it can be hard to overcome those issues.

In the end, I made four sketches. They're decent, but they're not great - that is, they aren't what I really wanted them to look like, and I don't think they're of a high enough quality that I could or should sell, so I'm not going to list them on Etsy like I had initially wanted to. Maybe some day in the future, when I'm in a better place or a better mood, I'll try again and see if I can't get sketches that I'm happier with.

In any case, I still wanted to include the photos in this blog post, just to share what I've been working on lately. Not every art project is going to end up being a winner, but the important thing is that I keep trying anyway - trying new subject matter, new materials, new ideas - and that I don't let the weeks when I'm struggling pull me permanently down.

I started out with the Statue of Liberty. The image on the left is a black and white printout of one of the photographs I took in NYC. I used three different thin magic pencils to draw a (rather linear) sketch of the statue and her large pedestal. I was not satisfied with it in part because it was so small - I could do very little, if any, shading without the drawing just becoming a dark, incomprehensible mess.


Next, I drew the Empire State Building, as seen from the Top of the Rock observation deck. Again, the image on the left is my black and white printout of a photo I took in NYC, while my drawing is on the right. I used a blue magic pencil for this one, and then added in some of the other buildings in the background using a red/yellow pencil.


For my third sketch, I revisited the Statue of Liberty, because I wanted to try again. I didn't include her pedestal this time, hoping that without the large pedestal I'd have more room to get in some of the shading and details that I wanted to. I do think this one turned out better than my first attempt, and like some of the shading. I used two green magic pencils for this sketch.


Finally, I drew the One World Trade Center building, with some of the nearby buildings that make up the NYC skyline, as seen from the Hudson River. The black and white image I was using as a source photo was one that I took on our Circle Line Landmarks boat tour. I used a blue magic pencil for this sketch.


Here are the three best (and three last) sketches. I don't think they're horrible for the quick sketches they are, but I also think I can do a better job if I put a little more planning and time into it. I also think New York City is so big and iconic (it is called the "Big Apple" after all) that I'm only doing myself a disservice if I try to draw small sketches. When I revisit this idea another time, I think I'll make larger drawings, so that I can add in more detail and shading, like I wanted to with these.


Friday, May 11, 2018

NYC Photos - Interiors & Architectural Close-ups

This is my last post of architectural-themed photos from our New York City trip. I have many more photos to share - a lot of flowers, for instance! - but this is it for the buildings, store fronts, skyscrapers, touristy sites, and street views.

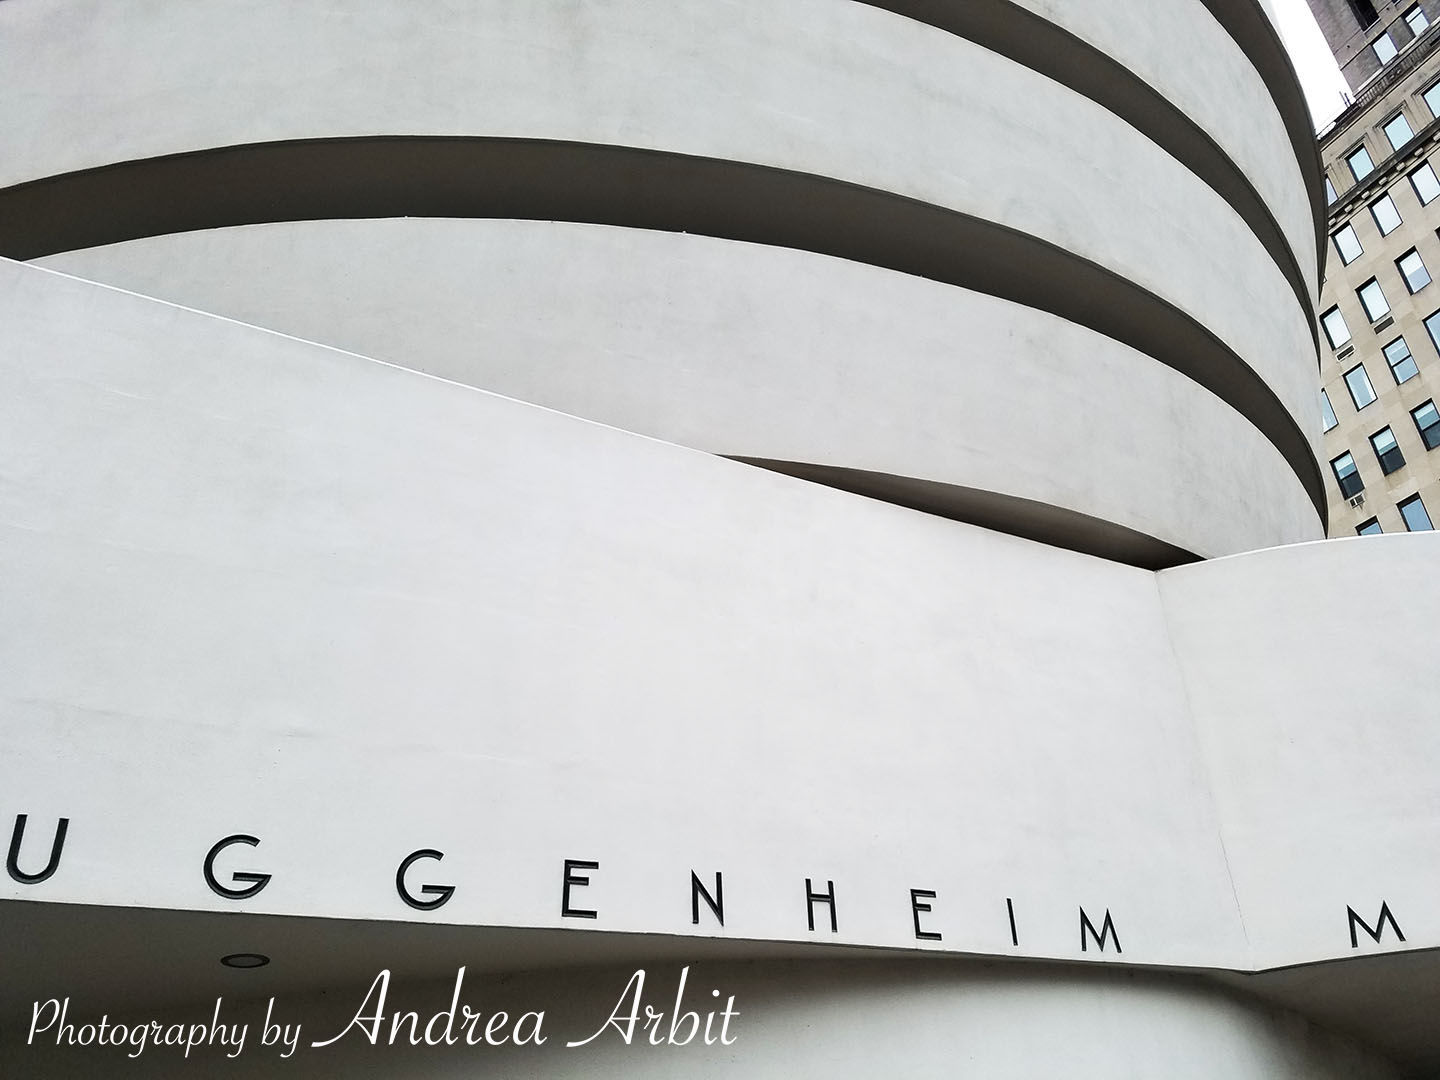
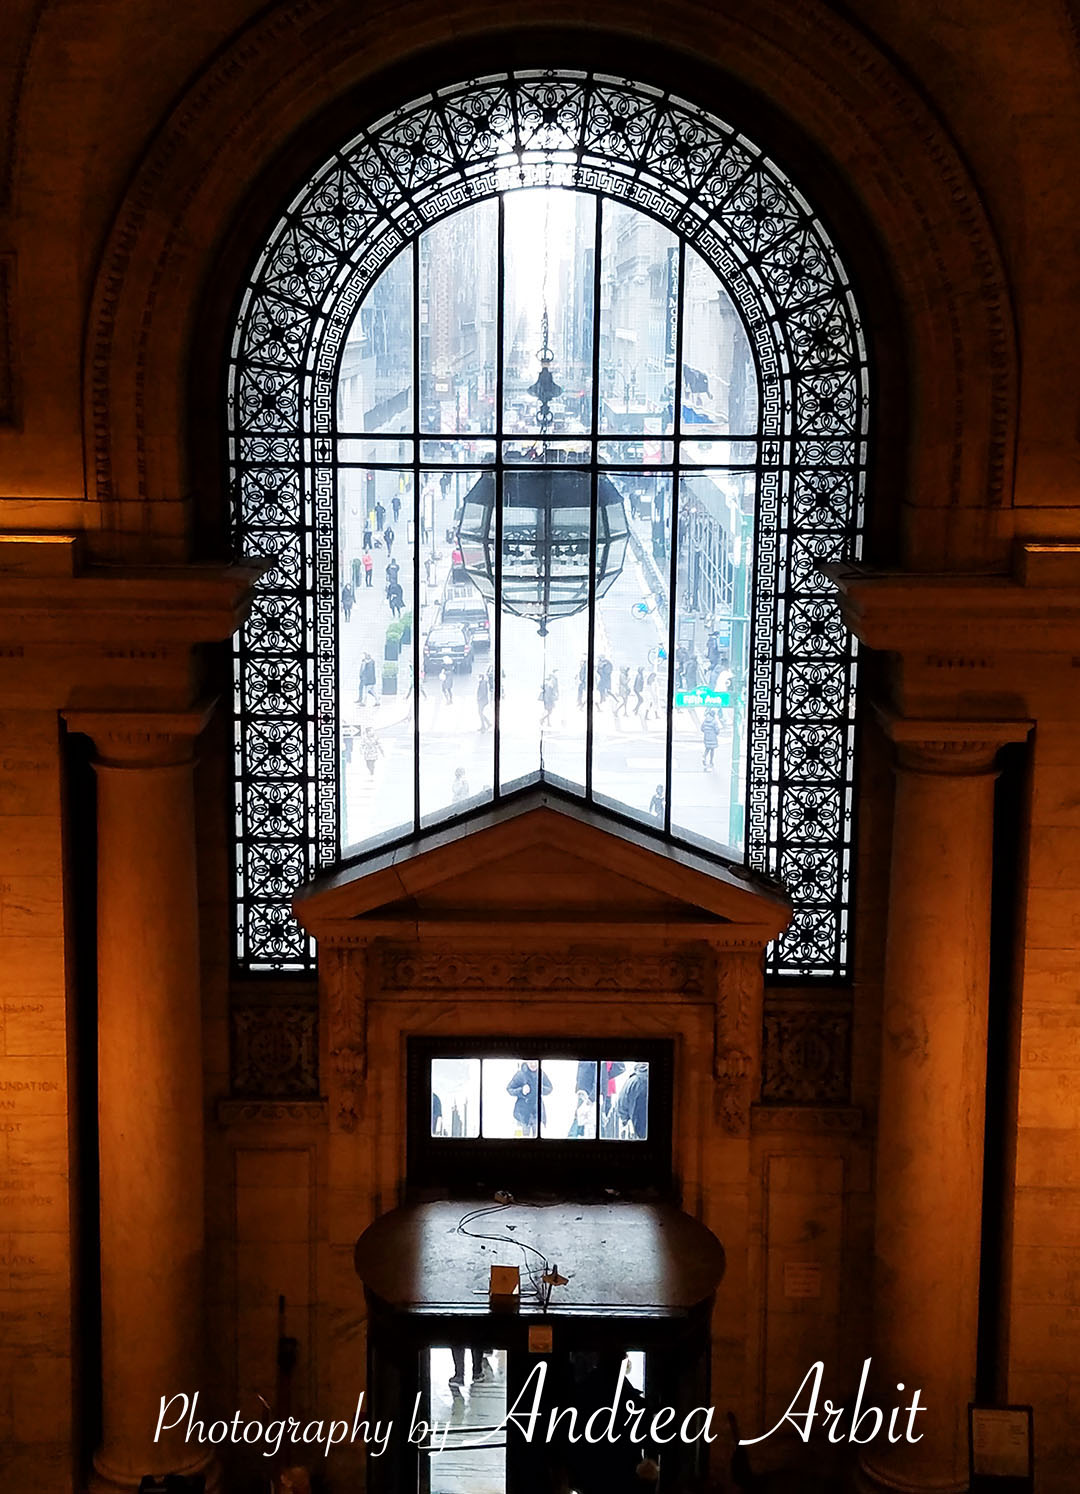
Scroll down to see photos of a 5th Avenue store window, the 9/11 memorial, the Atlas sculpture at the Rockefeller Center, Carnegie Hall, details carved into the Bethesda Terrace at Central Park, Ellis Island, Grand Central Terminal, the Guggenheim, Katz's Deli, the NY Public Library, the Cathedral Church of St. John the Divine and St. Patrick's Cathedral, and the Woolworth Building.


Wednesday, May 9, 2018

NYC Photos - Bridges & Overpasses

Manhattan is, of course, an island - surrounded by the Hudson River and East River. By necessity then, there are lots of bridges - bridges of historical significance, bridges for trains and cars, bridges with pedestrian paths. There are also - like any city, big or small - footbridges and overlooks in local parks (Central Park and the High Line, in NYC's case). Over the course of our recent 8 days in NYC, I took several photos of bridges - especially of and on the Brooklyn Bridge, which my husband and I walked across in the driving mist on a gloomy, foggy afternoon. Here are some of my favorites, below.