Showing posts with label astilbe. Show all posts

Sunday, September 8, 2019

Summer Flowers

In spring, my front yard blooms with tulips. In summer, it blooms with lilies!


The north side of our house also has some beautiful landscaping now - ferns, astilbe, and hosta. Below is a shot of the pink astilbe shoots, as well as an early hosta bud, taken in July.


My front yard also has 3 hydrangea bushes - two small ones and one giant one, which is now too tall for me to trim! The tallest one doesn't bloom until the fall, but these two little ones started showing their flowers in July.


I love being able to take pictures of flowers without even having to leave my property! :)

Thursday, August 23, 2018

Spring & Summer Landscape Photos

These photos were all taken in May-July in my front and side yards.

I planted a few dozen hybrid tulips in the fall, imagining our front yard bursting with color in the spring. They bloomed late and then didn't stick around long (I didn't spray enough deer repellent, and the deer that frequent our subdivision ate most of them), but I did manage to grab a couple great photos:


I also took pictures of the pretty blossoms on the crabapple tree in our front yard, as well as the red lilies and roses:


My hydrangea bushes (I have one very large one, and two small ones now) are also doing well (the large one especially):


The biggest front yard story of the spring/summer, however, was this little mama duck, who made a nest in our bushes, incubated 8 or 9 eggs, and then one day vanished - leaving one sad, unhatched egg behind.


Last fall, we also did a lot of work to our side yard landscaping, planting several hosta, ferns, and astilbe - all of which, I'm happy to say, came back and looked great this spring/summer, with little watering or attention given on our parts. I love the pop of color on the astilbe, especially:


Wednesday, November 22, 2017

Autumn Flora Photos

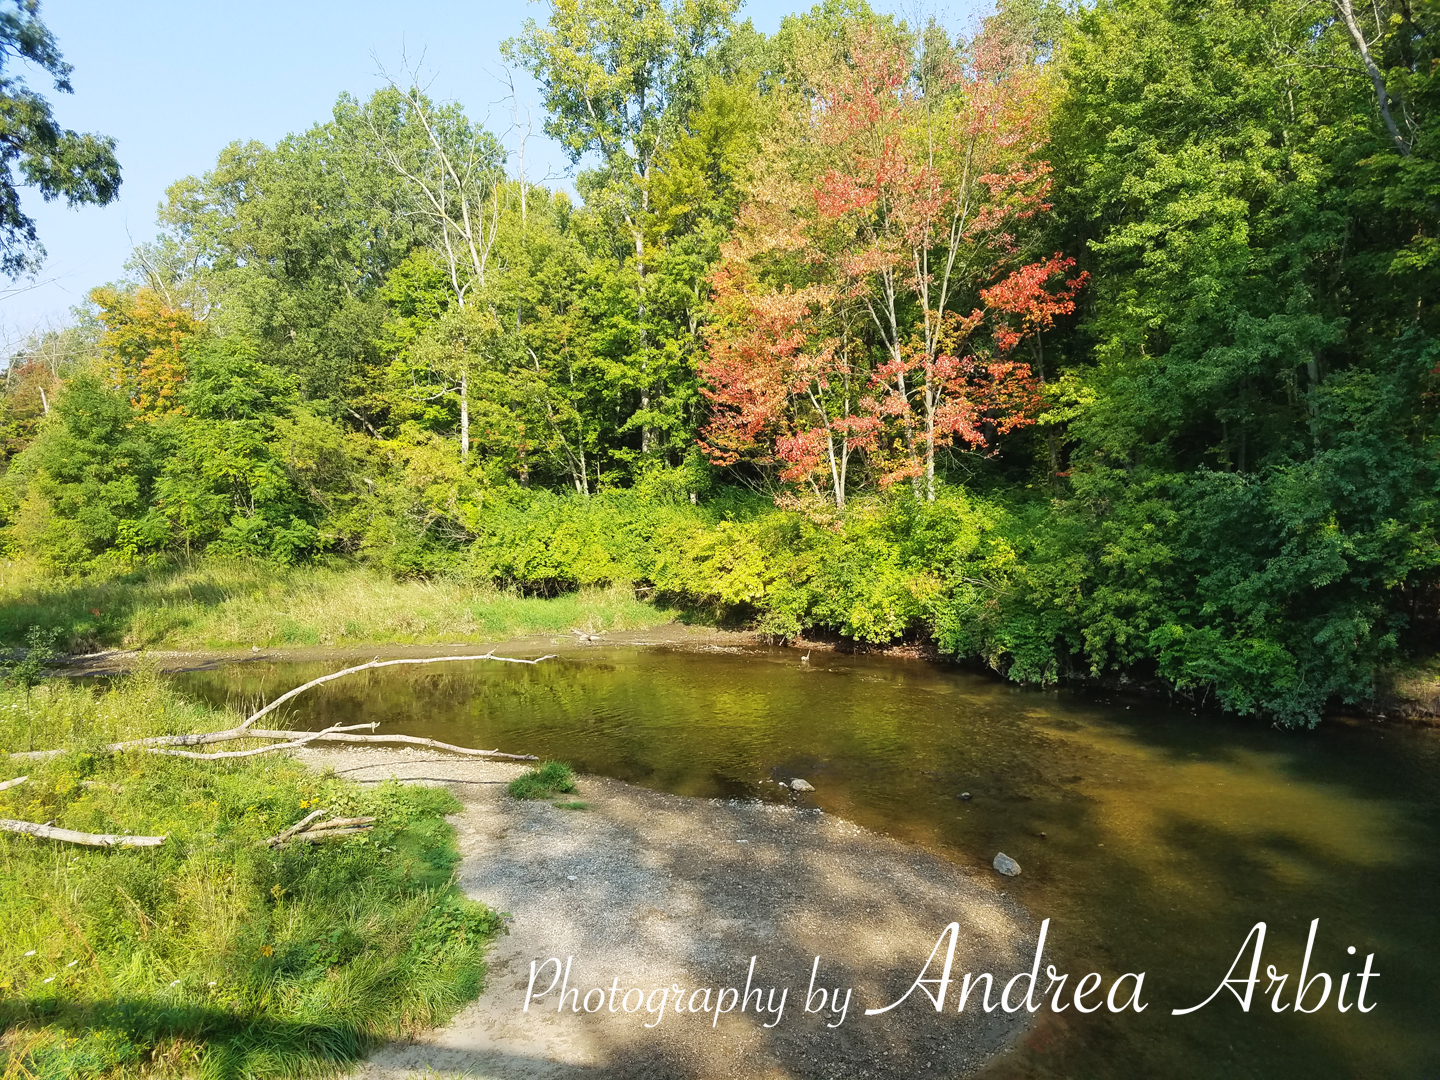
I didn't have much free time to snap a lot of photographs of changing leaves this year, but I did take some pictures of the very early hints of fall color on a trail walk along the Paint Creek trail in September, and (of course), documented the landscape work my husband and I did in October. I knew the hydrangea, hosta, ferns, and astilbe we planted would likely never look so good again, so I had to take a couple pictures of them when they were freshly planted. :) We also planted tulip bulbs in our front yard - and I'm hoping to see the rewards of that job come springtime!

Here are the (few) autumn photos I took of plants this year:


September on the Paint Creek Trail

September on the Paint Creek Trail

Someone left these pretty yellow flowers behind on a Paint Creek Trail footbridge

The new hydrangea bush that we planted in our front yard

The four new Earth Angel Hosta we planted along the north side of the house

We also planted four Lady Fern and two Astilbe plants along the north side of the house

And here's a bonus photo of a carnation bouquet on my parent's kitchen table


Sunday, April 23, 2017

"Race Bouquet (Stronger Together)" - In Progress 4

To read about the meaning behind this drawing or the specific symbolism of each flower, visit this blog post.

-

My new 19x25" colored pencil drawing, "Race Bouquet (Stronger Together)," is coming along nicely! Now that my preliminary sketch/planning is finished, and a lightly drawn in first layer is down on the black paper, it's time to start adding depth and detail by working on each flower individually, looking at my reference pictures for guidance, and blending layers of colors together.

I started with the astilbe on top. As you can see, I used only three colors for this one - a light pink, a slightly darker pink, and white. There wasn't much shading or dimensionality to add here - just a series of lines to represent the thin little branches - so it was a quick plant to complete.


I moved onto the cattails next, which was similarly easy. I used two different shades of yellow-green for the stalks, and three shades for the brown cattails.


The gladiolus required a bit more work, since there were several flowers on each stalk. I used two shades of peach, two shades of orange, and dark red and black for the dark centers of the flowers. Then I used three shades of green in the stalk-like stems and leaves.


I worked on the protea next, using two shades of pink, "pumpkin orange" for some of the shadows, white and cream for the highlights and the lines at the center of the protea, and two shades of green for the leaves around the protea's base.


For the freesia plant, I used two shades of green for the stems, pale yellow and cream for the highlights, three shades of pink, and a dark brownish-red or the shadows, and black to define some of the edges.


The hanging amaranthus on the left side was created with two shades of peach, two shades of orange, a yellow-orange pencil, pale yellow, and black. I used two shades of green and some orange to add color to the leaf.


Those are the first six flowers. I plan to gradually make my way down the rest of this bouquet, flower by flower, in much the same fashion, until they're all complete!

Monday, April 17, 2017

"Race Bouquet (Stronger Together)" - In Progress 2

To read about the meaning behind this drawing or the specific symbolism of each flower, visit this blog post.

-

I started with a quick composition sketch on newsprint to work out where the flowers would go in this bouquet. Then, once I had all my research and planning complete, I started on the 19"x25" black paper.

Instead of drawing the outlines of the whole bouquet and then coloring it in, I drew and colored in each flower at a time, as I went. I didn't want to smear away any of the graphite outlines before I got a chance to go back and color them in, and I was also pretty confident that it would look okay/I would get the proportions I wanted, since I had a to-scale newsprint sketch I was working from. I folded the newsprint in half, then in half again; then did the same thing in the other direction, so I had a 4x4 grid. Then I marked my black paper with a dot at the intersection of each of those squares (but didn't draw out the entire grid - so I wouldn't have to erase it later). This kept me from differing too much from the size I wanted to draw each flower, based on my newsprint drawing.


I started with the protea, since it is one of the flowers in the center of the bouquet, and also near the top.


Then I added the gladiolus behind the protea, slightly to the left.


The cattails came next, sticking out behind the right side of the protea.


The astilbe filled in the space between the gladiolus and the cattails. This will be the very top of the bouquet.


Directly underneath the protea, also in the center of the bouquet, was the chocolate ti leaf. Because this is the darkest plant in the bouquet, I wanted it to be in the center, surrounded by lighter flowers, so that it would be visible. Because I was working with a black paper background, I was concerned that making any plants too dark might make them unseeable; I didn't want anything to blend too much into the background so that it wasn't easy to see.


Next, I added the freesia, sticking out on the right side of the bouquet underneath the cattails.


The amaranthus sticks out of the left side of the bouquet at the same place, keeping the bouquet symmetrical.


Underneath the amaranthus, I drew in the gerbera daisy. Underneath that, the jasmine flowers.


And underneath the jasmine, the dahlia flower.


Sticking out on the left side of the bouquet, just to the left of the dahlia, are two tulips.


I then added a small bunch of carnations on the right side of the chocolate ti leaf.


These are the first dozen flowers I drew in. I sketched everything lightly at first, just to get everything placed down. Once all 24 flowers are in place, I will go back over all of them and add more color and more dimension. Check back tomorrow for the pictures of the next 12 flowers.