Showing posts with label marker. Show all posts

Wednesday, July 17, 2019

All 26 Finished Rainbow Alphabet Watercolors (Close-Ups)

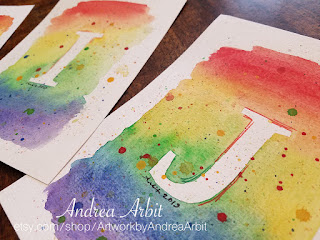
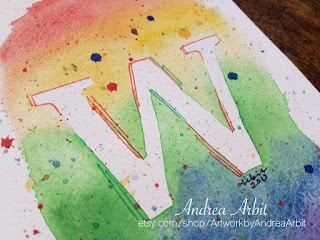
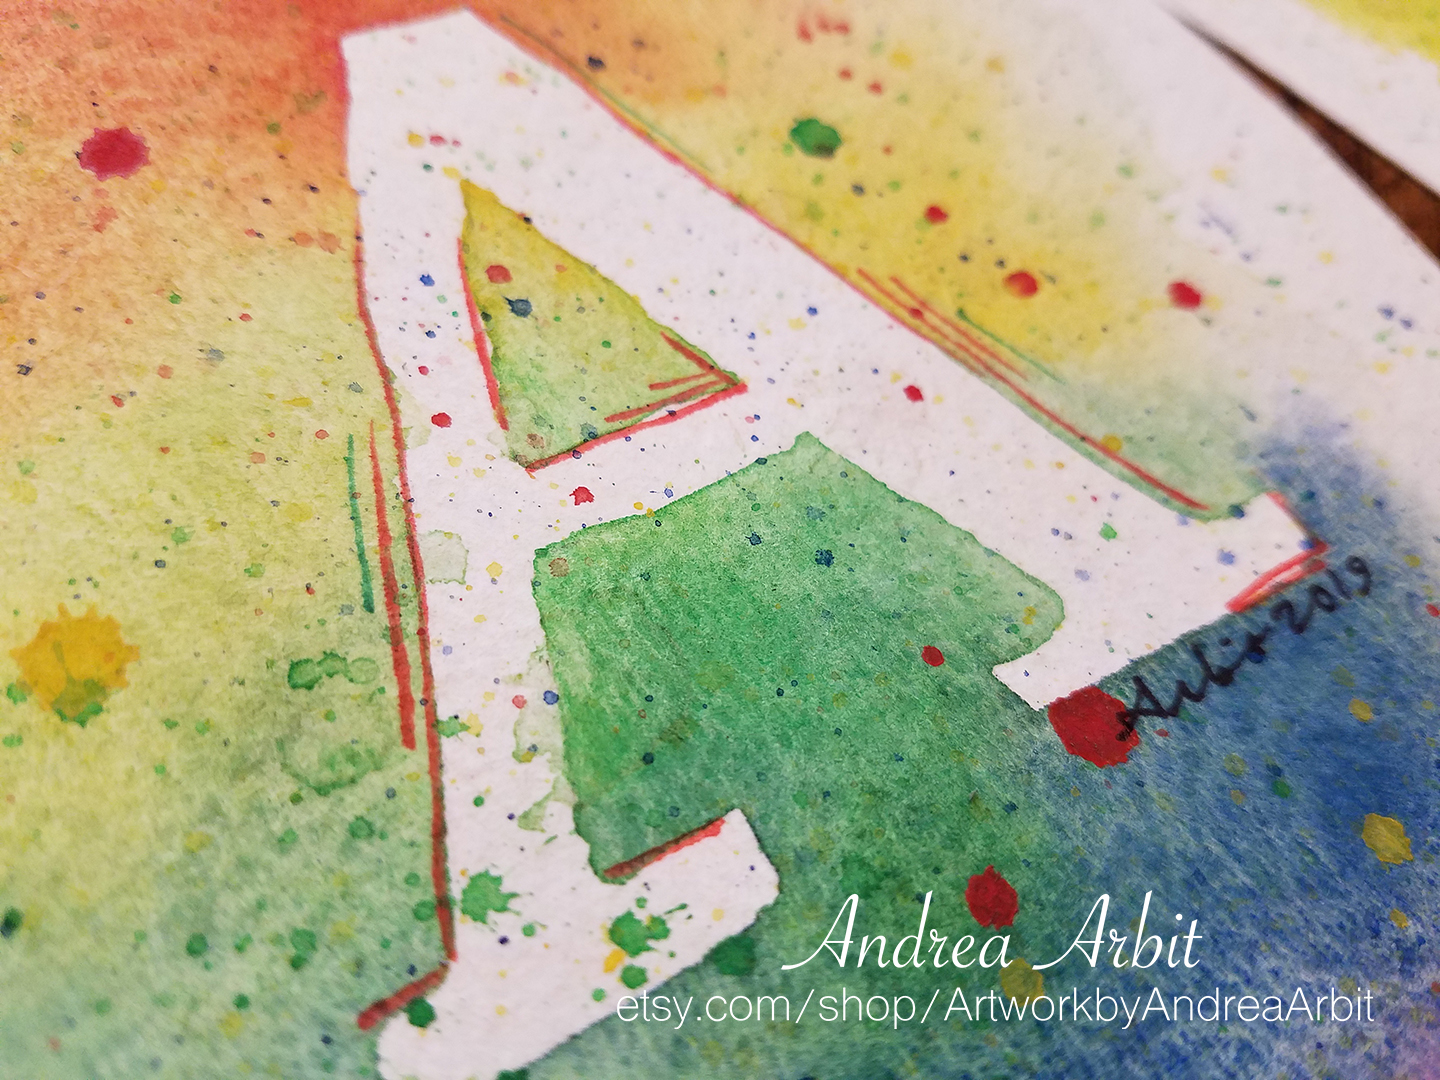
As promised, here are some close-up shots of my recently completed 26 5"x7" rainbow alphabet watercolor paintings. (You really need close-ups to best see the green and orange thin Sharpie line details I added!)


I am making these paintings into notecards, which will be available in my Etsy store for purchase soon!

Thursday, July 11, 2019

All 26 Finished Rainbow Alphabet Watercolors

My last few blog posts have been all about the process of painting my recent 5"x7" rainbow alphabet watercolors. Today I want to show off what the entire set of 26 looks like altogether!


I just love the colors of these paintings! They're so bright and cheerful. I painted all of these in April (often when it was raining outside) and the rainbow backgrounds reminded me of spring and brought some much needed color to some gloomy, gray days.

I also took lots of photos of some close-ups of each letter, which I'll post in another blog coming soon!

And look for the notecard/art print versions of these paintings coming soon to my Etsy store for purchase, as well.

Friday, July 5, 2019

Rainbow Alphabet Watercolors In Progress: Q-Z

It's time to look at the last 10 letters of this 5"x7" rainbow alphabet watercolor series!

As always, I started by taping down the paintings to keep them flat while I painted.


I mixed it up this time, since the grid was 5 across, and that fifth painting was a long way from my watercolor palette on the left side of the table - instead of going alphabetically, I did "Q" and "R" and then skipped down to the second row to do "V" and "W". Then I moved my palette and water dish closer to the right side of the table to tackle "S" and "T".

You can tell which paintings I did more recently before taking this picture, because the pigments are still darkest on the most recently painted, because it's still wet. It also looks shiny when you try to take a picture of it, whereas the paintings that are drier are also matter.


I went through and did the backgrounds for all 10 letters first, before moving on to the "paint splatter" stage. Each rainbow background was made with a wet-on-wet technique, carefully but quickly painting around the pencil outlines I drew of each letter. I used six tubes of paint: red, yellow, light green, dark green, blue, and violet.


Once the rainbow backgrounds were dry enough, I started going through and adding paint splatter. I get the brush very wet with just a little pigment, and then flick the brush quickly and over a wide area to get the little paint specks everywhere. For the larger drips, I grab more pigment and more water, and then hold the brush vertically and give it a little shake, hoping a larger drop will fall in a good spot. It's not easy to control where exactly the paint splatter goes - but that's kind of the fun of it. Let the drips fall where they may!


Here are the finished paintings, still taped down. Like the other letters, I also added some thin orange and green Sharpie marker lines around certain parts of the letters, to give a bit more visual interest and dimension, as well as to clean up some of the shakier lines where some of the background seemed into the white negative space letters a bit too much.


Finally, here are the last ten letters untaped from the table.


After all 26 of these paintings were completed, I brought them upstairs, signed each one, and photographed them as a group (which is the subject of my next post!). My end goal is to scan these and turn them into notecards (like I did with my floral alphabet series). Look for these as notecards in my Etsy shop soon!

Saturday, June 29, 2019

Rainbow Alphabet Watercolors In Progress: I-P

My last post showed off the step-by-step process for painting my "A" through "H" rainbow alphabet watercolors; today it's all about the next 8 letters: "I" through "P"!

The process for making these paintings is basically identical to what I did for "A" through "H" (though I did learn with those first 8 letters that it's better to wait until all of the backgrounds are dry before doing the "paint splatter" step). The first step however, is always the same: taping down the watercolor paper to keep the paintings flat while I paint.


I used a wet-on-wet technique and six tubes of watercolor paint to create the rainbow backgrounds: red, yellow, light green, dark green, blue, and violet. I tried to keep the colors as bright and saturated as possible, knowing that they would fade a little as they dried. The variations in color that you see from one painting to the next is due to the amount of water used in the initial water-only layer, before adding pigment down. (When the water is clear, it can be hard to tell how much water you have on your paper!)

As with before, you can see how the color fades as it dries by looking at the first few paintings I completed. By the time I finished the "J" the "I" that I painted first had already started fading a little - and by the time I got to "K" and "L" the "I" and "J" were looking a lot lighter!


Here are all eight paintings with the rainbow backgrounds complete:


Once the backgrounds started to dry, I went in to add some paint splatter - both as smaller flicks of paint and bigger, darker drops.

You can see how I focused more on the first 6 letters during my first round of paint splatter, since the "O" and "P," whose backgrounds I'd painted last, weren't quite dry enough yet. The second picture below shows what the paintings looked like after I left them for a couple hours, and then returned to add more paint splatter, especially to the "O" and "P."


As with the first 8 letters, I finished off these paintings with some thin orange and green Sharpie lines, to help straighten up some of the wavier letter edges, and add some more visual rhythm and interest to the paintings.

Here are the finished watercolor paintings:


Check back soon for the last 10 letters - "Q" through "Z"!