Showing posts with label black eyed susans. Show all posts

Friday, December 4, 2020

Summer & Fall 2020

As I mentioned in my last post, we visited a number of parks and nature trails near our home in Rochester Hills, Michigan this past summer and fall, while the weather was still nice. I took a lot fewer photos of flowers this year than I have in years past (my camera roll is instead naturally full of pictures of our baby) - but I did on occasion take a few shots of some flowers, animals, and scenery as we walked around the parks and nature trails with our baby and dog. Here are some of my favorite pics I took:


I'm going to miss all the nature trails and parks around here when we move to Ann Arbor - but I'm excited to explore all the new nature areas around our new house! (And hopefully finally take our daughter to new places BESIDES just outdoor locations next year... poor girl has never been to a library storytime, or inside a store, or to a restaurant, or an aquarium, or anything besides our house and these local nature spots. Here's hoping 2021 is safer, and we can finally show her more of the world!)

Monday, July 29, 2019

"Justice" Colored Pencil Drawing

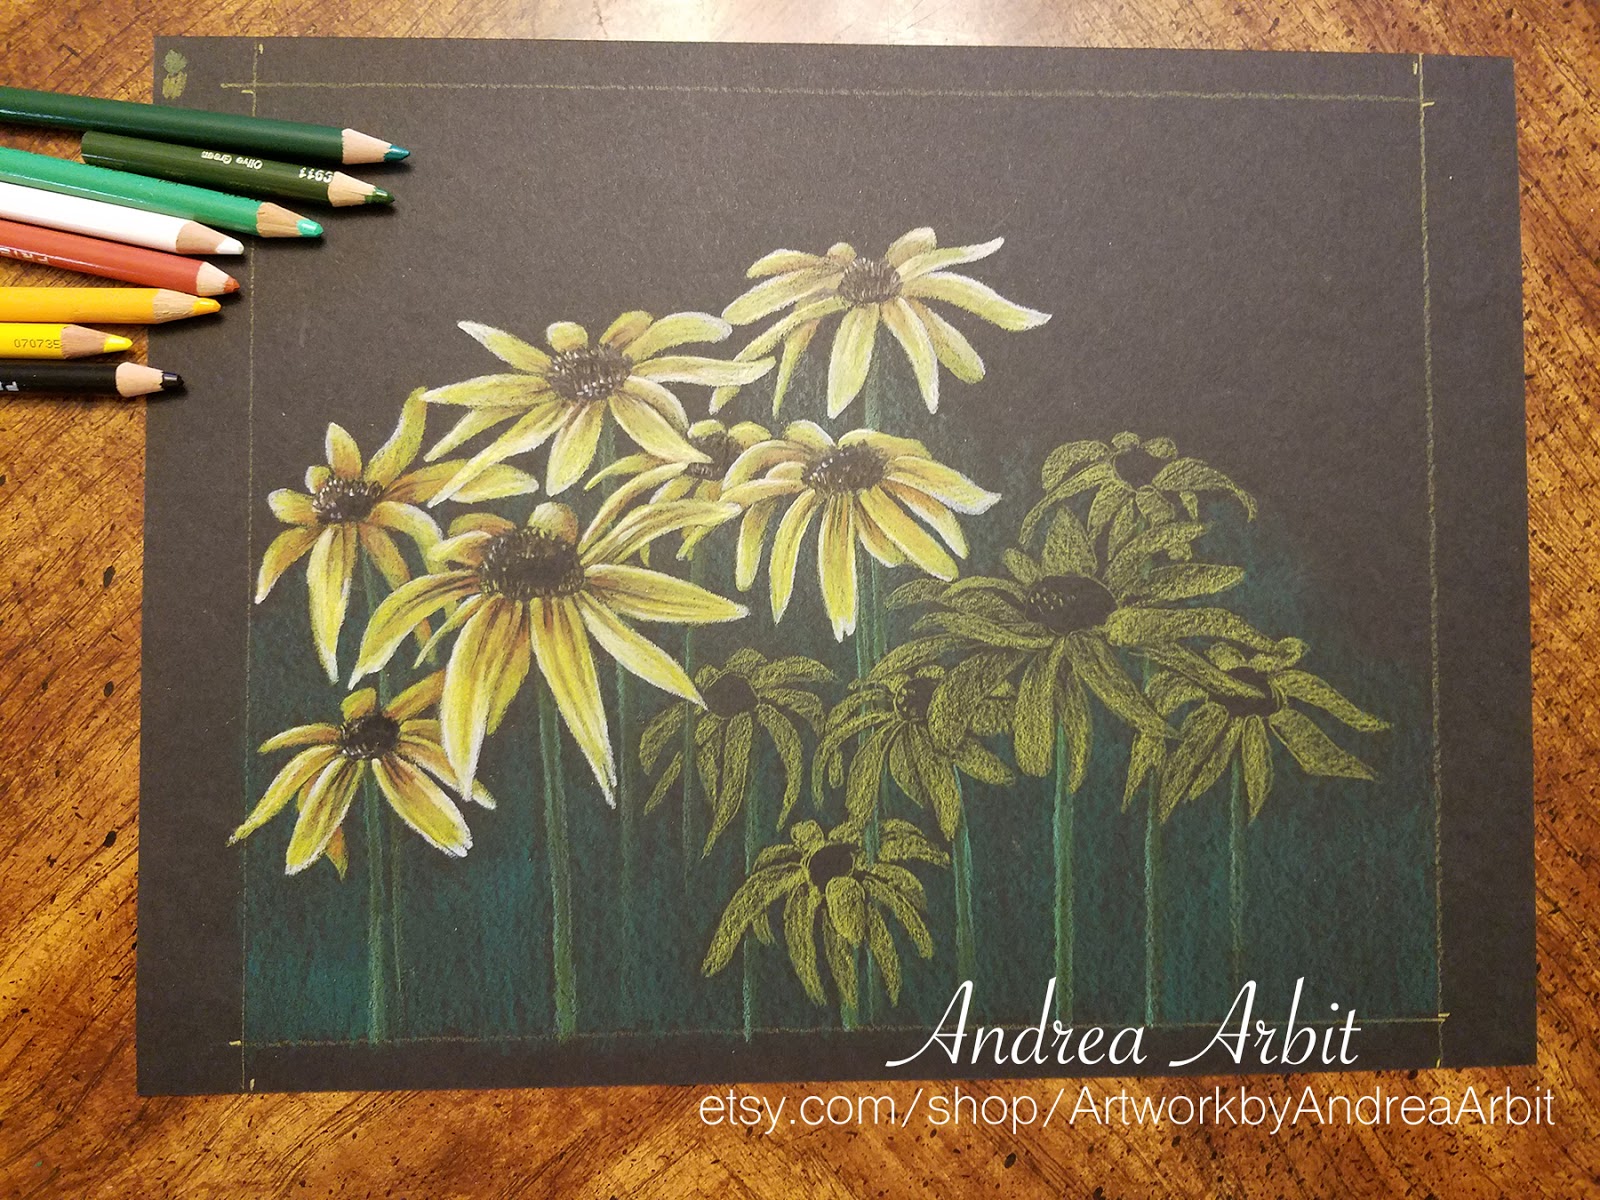
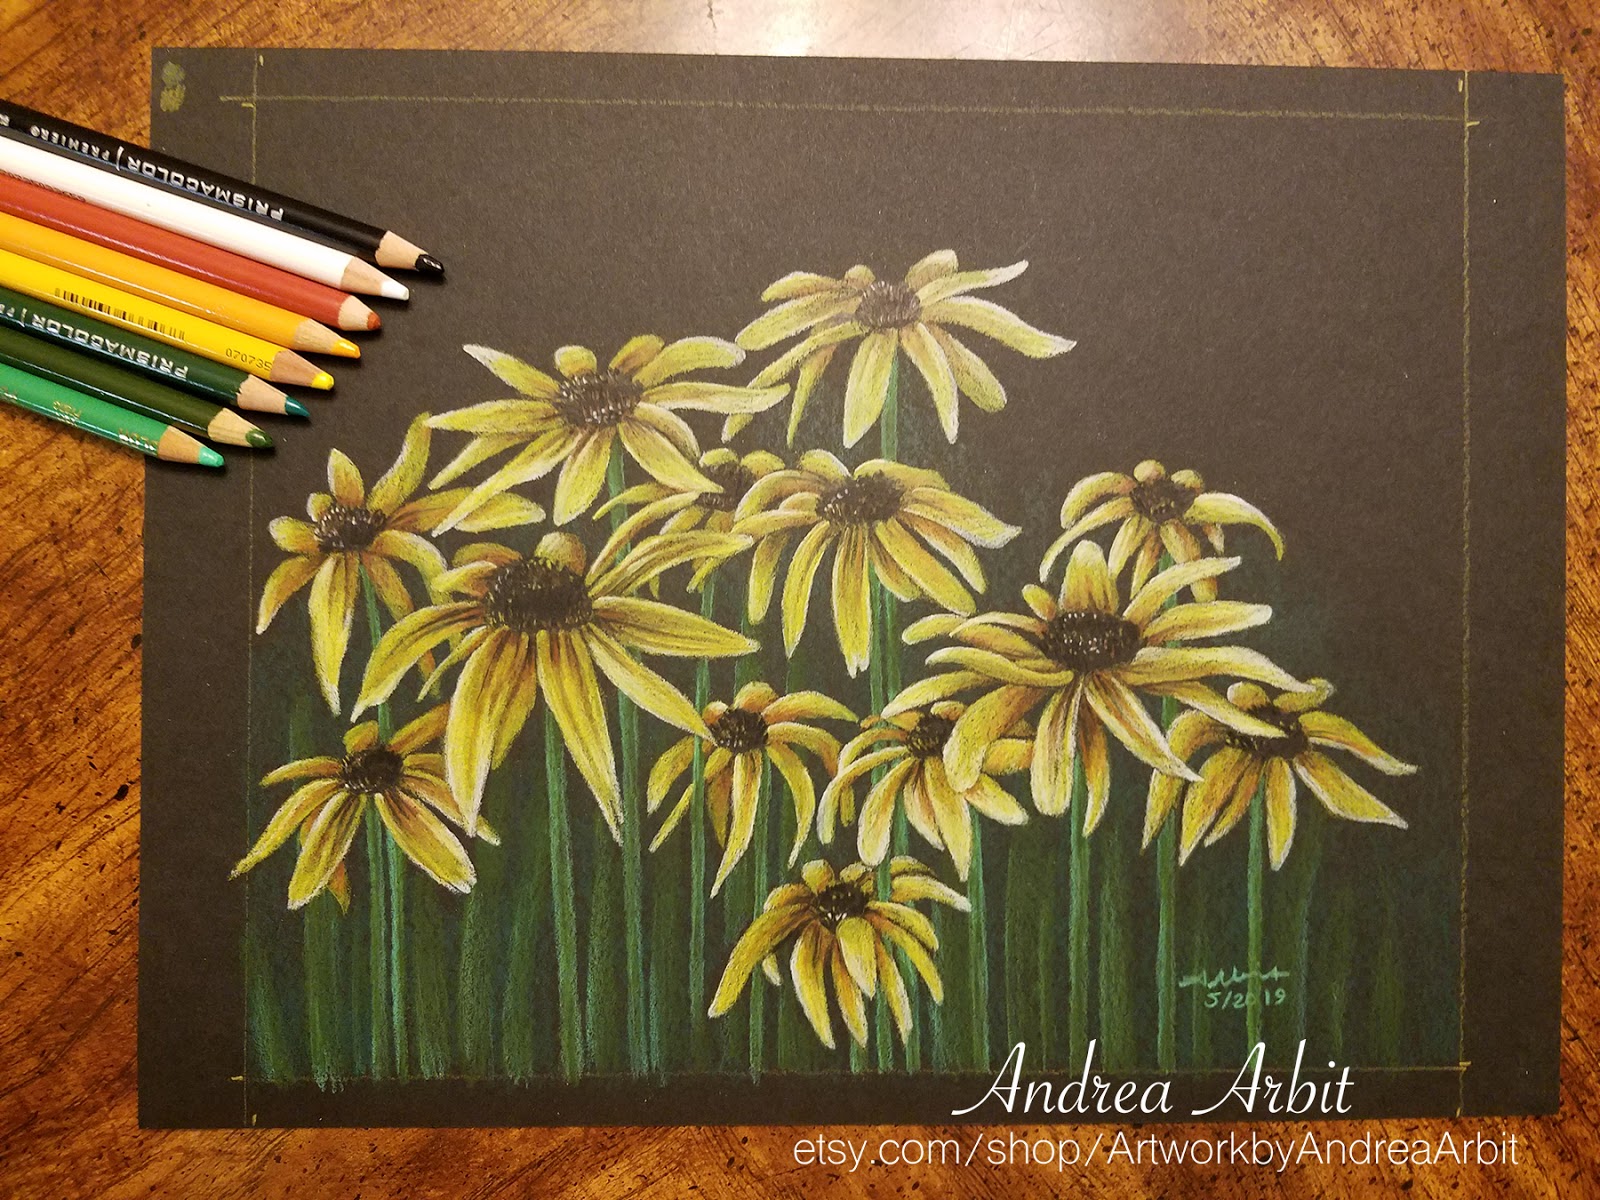
For my next colored pencil drawing, I picked black eyed susans, which symbolize justice. I used Prismacolor pencils and Strathmore black paper for my materials.

I started by drawing the yellow petals and green stems of the flowers to get them all in place.


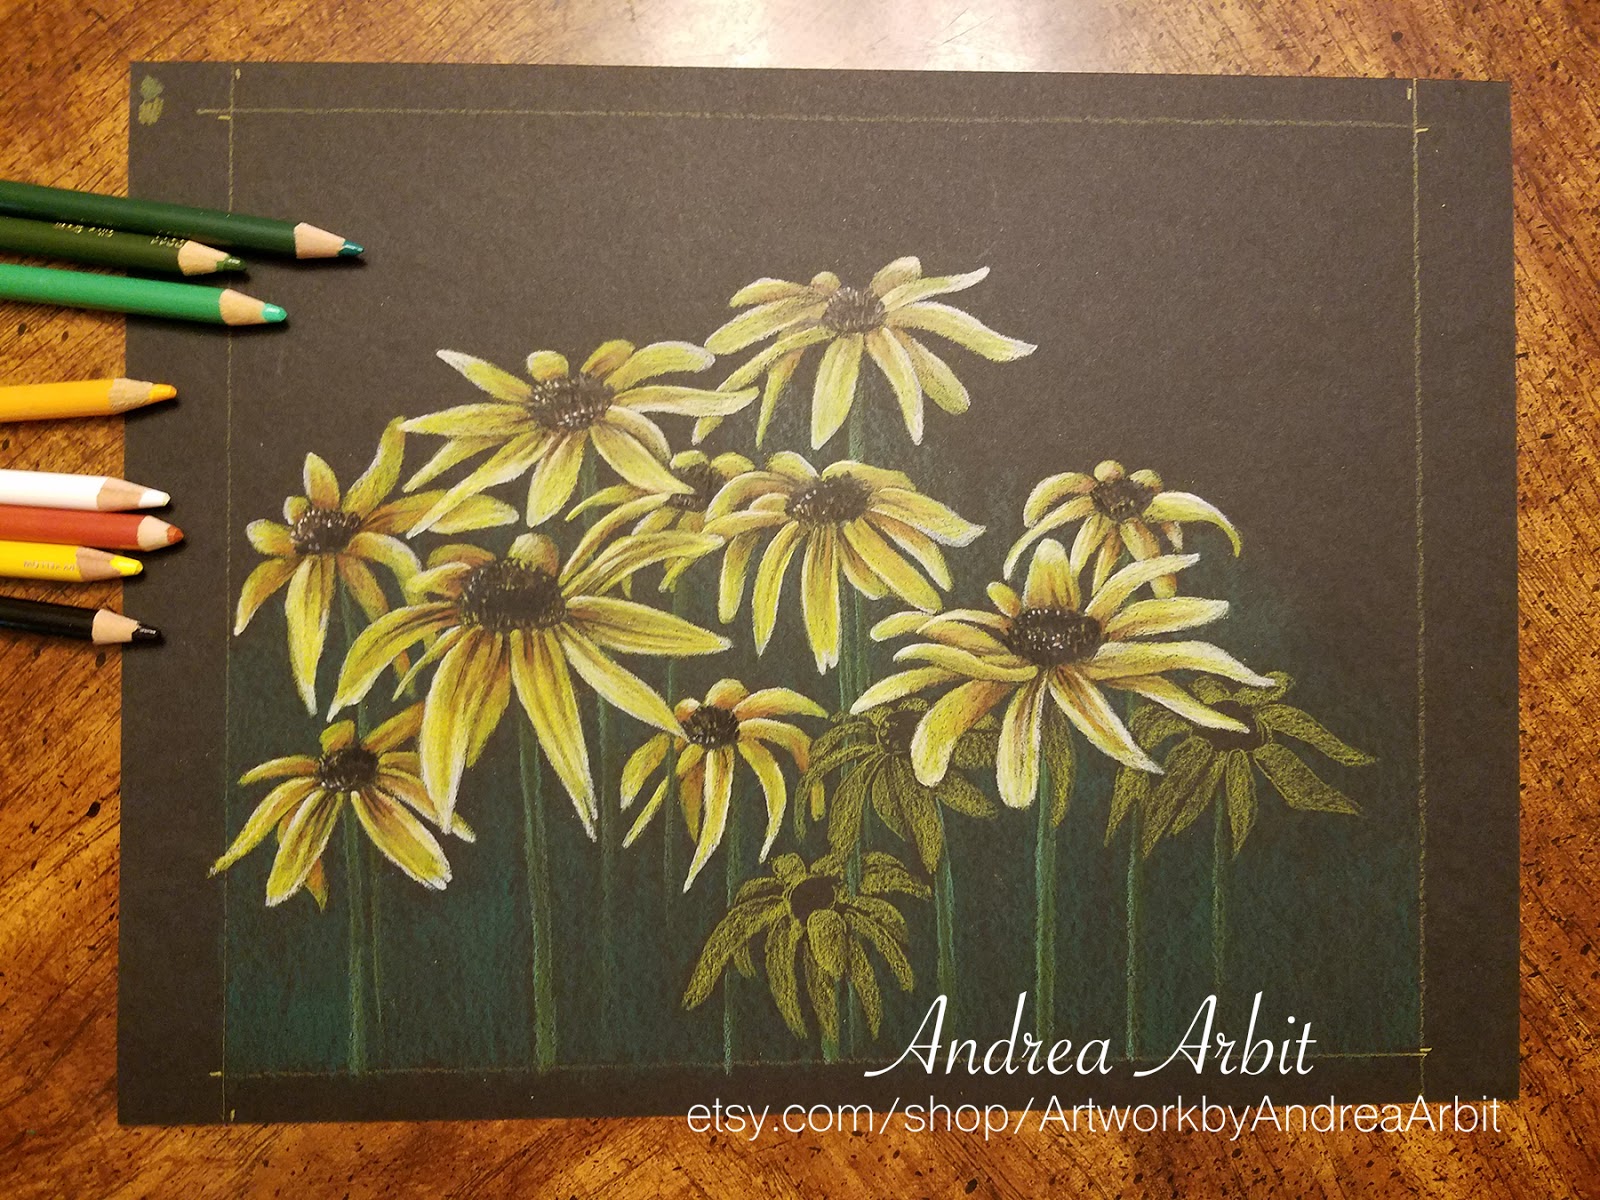
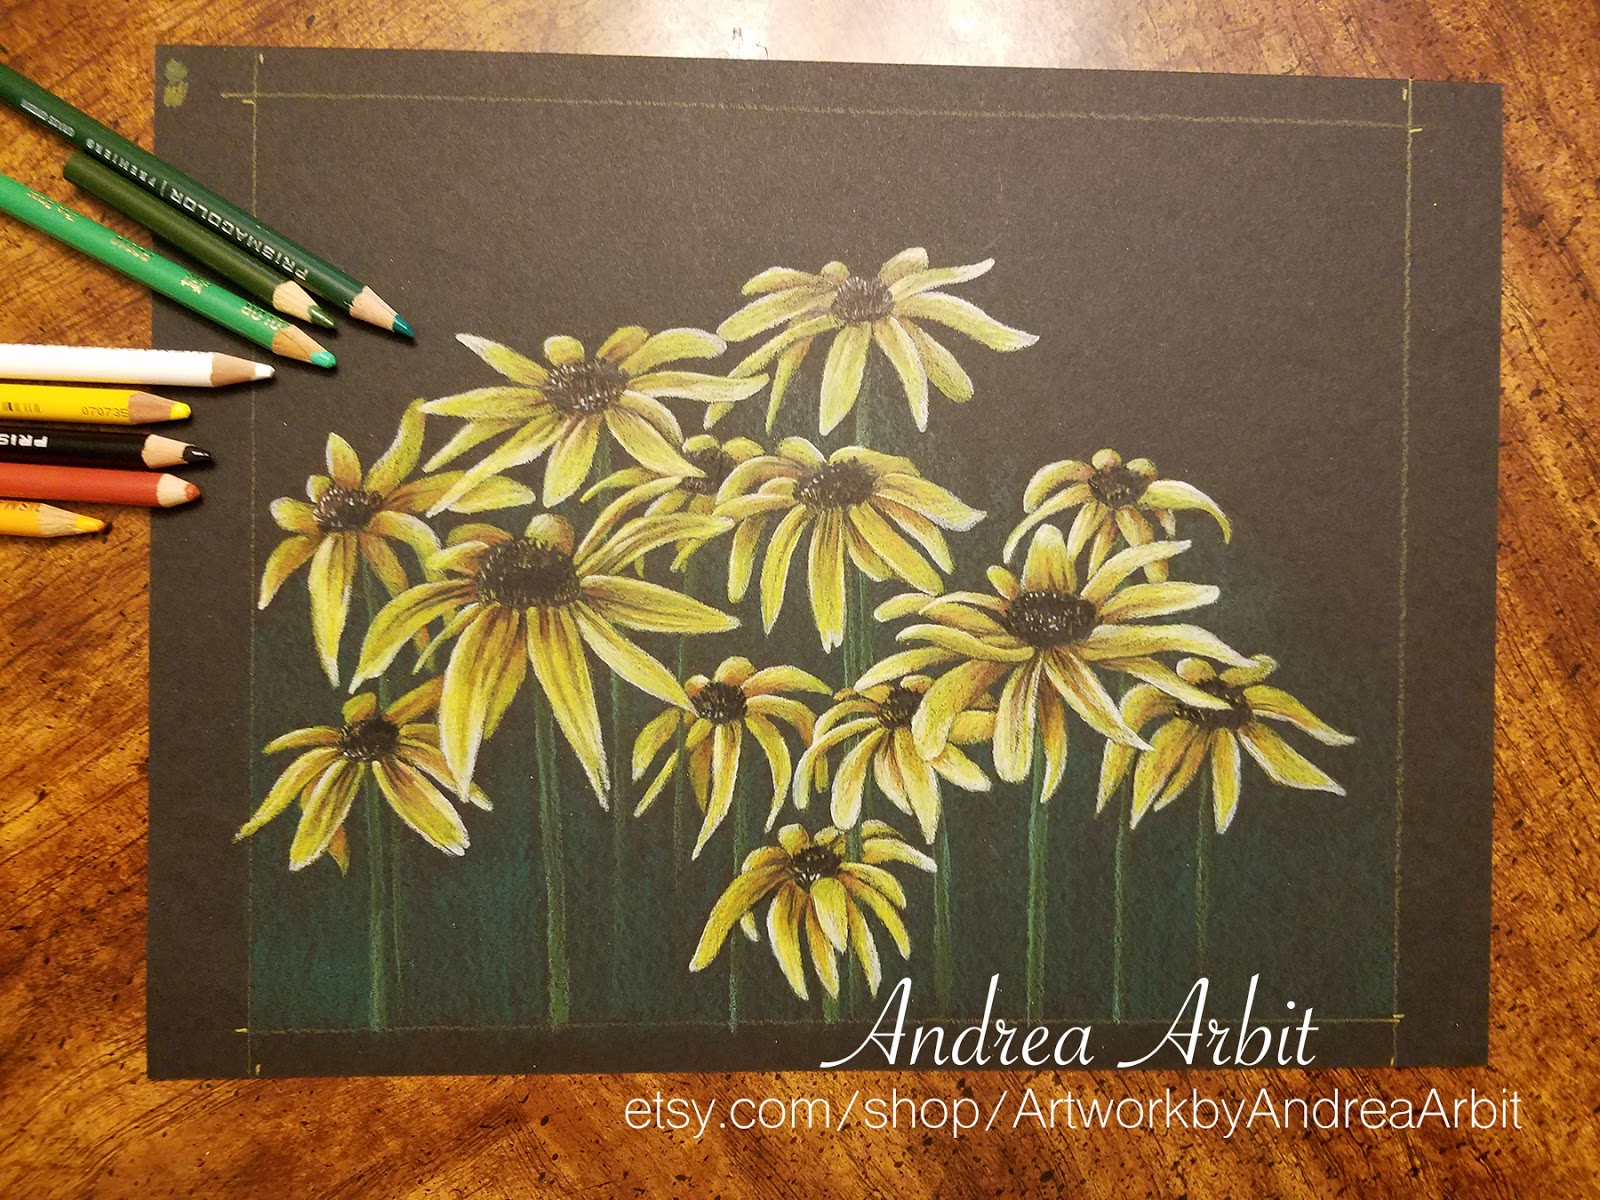
Then once I had my light sketch complete, I started going through and adding dimension to the flowers. I used pumpkin orange and black colored pencils for the shadows and centers of the black eyed susans, and white colored pencil (blended with yellow) for the brightest yellow parts of the petals.


Because the star of black eyed susans really are the yellow petals (and black centers), I left the stems less dimensional, letting them fade into the black paper a little bit. But I did lighten them up a little, so the flowers had something to anchor them compositionally.


Here are some close-ups of the final, completed drawing:


I added a white mat, and listed the drawing for sale on my Etsy page. You can find the listing here.


Friday, June 1, 2018

Varnishing Acrylic Paintings

I recently finished up my sister-in-law's Charlotte Skyline acrylic painting with an isolation layer and two layers of varnish, to help protect the three large canvases while they are shipped to her and on display in her apartment for years to come.

Because I had never done this step to an acrylic painting before, having only minimal experience with acrylic and using only making small paintings (or ones not even on canvas, but just on acrylic paper), I first had to buy the supplies.

I bought a new flat brush, Golden polymer varnish, and Golden soft gel gloss. (I also bought Golden soft gel matte, thinking I could use that as an isolation layer - only to later read on the label "DO NOT USE AS AN ISOLATION LAYER," at which time I went out and bought the soft gel gloss as a replacement.)

I used the Golden brand website to find instructions for how to apply the isolation layer and varnish layer. The directions were also on the labels.

I applied an isolation layer to my "test painting" first - "Find a Proverbial Mountain," the much smaller acrylic painting I completed in November 2016. I let that dry for a couple days, and then added a layer of varnish on top. When that painting survived just fine with no ill effects, I decided I was ready to try tackling the large skyline triptych.


Assembling my materials

Adding a layer of varnish to my painting

I followed the same procedure on the larger painting, following the directions on the label for ratio of soft gel gloss to water, and applying it in a thin isolation layer. It was white at first, but dried clear.


After I'd given that a couple days to dry, I went in with the polymer varnish (also diluted with water according to the label instructions). I did one coat to all three paintings, let it dry for 24 hours, and then added a second thin coat on top.


I then let it sit on my table for two weeks to make sure it was all fully dried and cured. I knew I would have to wrap the canvases in plastic and bubble wrap (not to mention packaging them in cardboard boxes) in order to ship them to North Carolina, so I wanted to make sure they were completely dry and ready before I did any of that.

They turned out great! And now I have the supplies on hand to do the same steps to any future acrylic paintings as well, to make sure they're all protected and will last a long time.

Monday, July 24, 2017

"Religion Bouquet (Stronger Together)" - In Progress 4

To read about religious discrimination and why tolerance of people of all religions (and non-religions) is so important, visit this blog post.

To read about the religious symbolism of the 24 flowers used in this drawing, go back to this blog post.

-

The initial sketch of my "Religion Bouquet" drawing is complete on the 19"x25" black Canson Mi-Teintes paper - which means it's time to start going through and building up layers of color and detail, flower by flower.

Today's post is going to show the first six flowers that I worked on during this second go-round, starting with the ti leaves at the top. For these large ti leaves, I used three shades of red and five shades of green:


Just to the left of these, I worked on the bunch of cattails. I used two brown colored pencils, three green pencils, yellow, and cream:


To the right of the ti leaves is a sprig of enchanter's nightshade, an herb with tiny white blooms. I used a light green pencil, white, brown, red, and a pink colored pencil for this plant:


Back on the left side of the bouquet, I used three shades of green, three shades of purple, one pink, one magenta, one blue-violet, and one cream pencil to color in the violets:


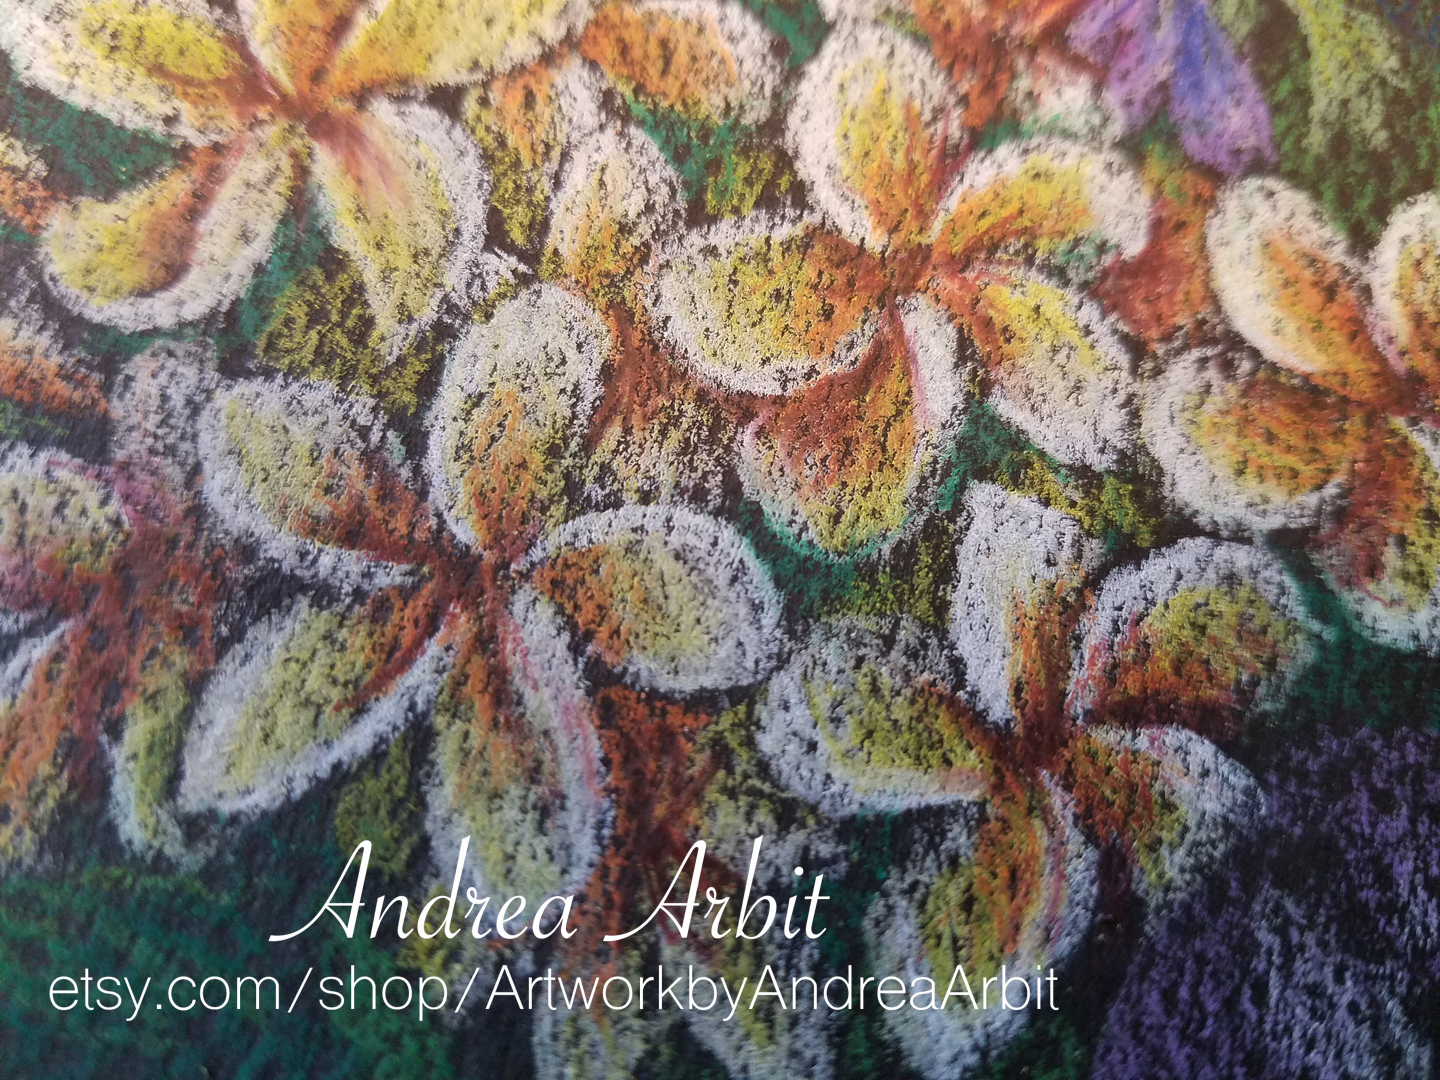
Below the violets, I'd sketched in a bunch of plumeria. I colored these in with dark green, bright green, white, cream, yellow, orange, and brown:


And for this quartet of black-eyed susans, I used black, pumpkin orange, orange, yellow, cream, white, and bright green colored pencils:


Here's what the entire drawing looks like so far, with the first six completed. You can also see in this picture where the rest of the flowers are sketched in lightly, ready and waiting for more color to help them stand out against the black paper.


Check back again soon for more posts - and more pictures!