Showing posts with label pattern. Show all posts

Thursday, February 13, 2020

Nursery Art: 22x30 Laini Taylor Quotation Watercolor Finished

Last week I showed the process of painting the pattern in the background of this 22"x30" watercolor, completed for our nursery back in September of last year. Today, I'll show you the photos of the letters being painted, as well as what the finished product looked like.

As with the first quotation painting, I used a mix of dark green and black watercolor pigments to get this nice, dark, rich color for the letters, because I wanted them to stand out from the busy background.


Once it was dry, I unstapled it from the gatorboard, and then trimmed the edges off so it would fit into the size frame I wanted. I custom ordered the frames - white metal, no mat, and no-glare acrylic on top, to protect the painting and make sure the quotations were still easily readable underneath, not obstructed by glare.


Here are the two finished quotation paintings, leaning up against our yellow nursery wall, waiting to be hung up! (And a dog thrown in for scale reference!)


I also painting three smaller watercolors for the nursery - a fox and two owls, to go with our subtle "woodland" theme. Next week's blog post will be all about those paintings!

Thursday, February 6, 2020

Nursery Art: 22x30 Laini Taylor Quotation Watercolor in Progress

Back in September, I created two large 22"x30" watercolor paintings of quotations for our nursery. The first was a quote by J.K. Rowling; the second was this quote by Laini Taylor: "You don't know yet what you're capable of, but I'm willing to bet it's extraordinary." Today's post is all about the process of starting to paint this second quote.

As with the first quote, I started by stretching the paper. I soaked the watercolor paper in the bathtub, stapled it to gatorboard to keep it flat while I painted, and then added a yellow wash of color. Even though it was very bright yellow, it was much paler when it dried, due to how saturated the paper was. It doesn't add much, but it does add a bit of dimension to the background, so that the "white space" leftover when I paint the pattern isn't actually completely white.

Here is the paper after that first yellow wash of color:


Then I started to paint the pattern. Because I wanted it to match the first painting, I used the same three pigments: bright cadmium yellow, lemon yellow, and a brownish-orange for a bit of dimension. This pattern was more complicated than the first, so it took me a lot longer. It was also not as cleanly divided into rows, so I followed the pattern a bit more organically as I went, instead of going straight up and down.

I was nearing 5 months pregnant at this point, and starting to be somewhat uncomfortable sitting too long - my back would start to hurt if I spent more than an hour or so leaned over this painting. All told, it took five days to complete the pattern, working about an hour each day.

Here is what I completed in that first hour:


And the second hour:


By the end of the third hour:


By the end of the fourth hour:


And finally, the pattern was complete!


All that was left now was to paint the letters of the quotation - which I'll show pictures of in next week's post. :)

Friday, January 31, 2020

Nursery Art: 22x30 J.K. Rowling Quotation Watercolor Finished

Last week's blog post showed the first few steps of this watercolor-in-progress - stretching the paper, putting down the first wash of color, and painting the pattern in the background. Today's post will show the last steps: painting the letters of the quotation.

I used a mix of dark green and black pigment for the letters because I wanted something really dark, so that it would easily stand out from the busy background.

Here is the painting with half of the letters finished (you can see how the paint on the word "born" is still wet):


And here is the finished painting (with the paint on the word "grow" still wet in the second picture):


I was so happy with how the painting turned out! Once the painting was dry, I unstapled it from the gatorboard, trimmed off the edges with staple holes, and fitted it into a custom frame I purchased.

Below is a photo of the finished painting, leaning against our yellow nursery wall, ready to be hung up (plus a sneak peak of the second quotation painting I did - which I'll show in-progress photos of in next week's post)!


Friday, January 24, 2020

Nursery Art: 22x30 J.K. Rowling Quotation Watercolor in Progress

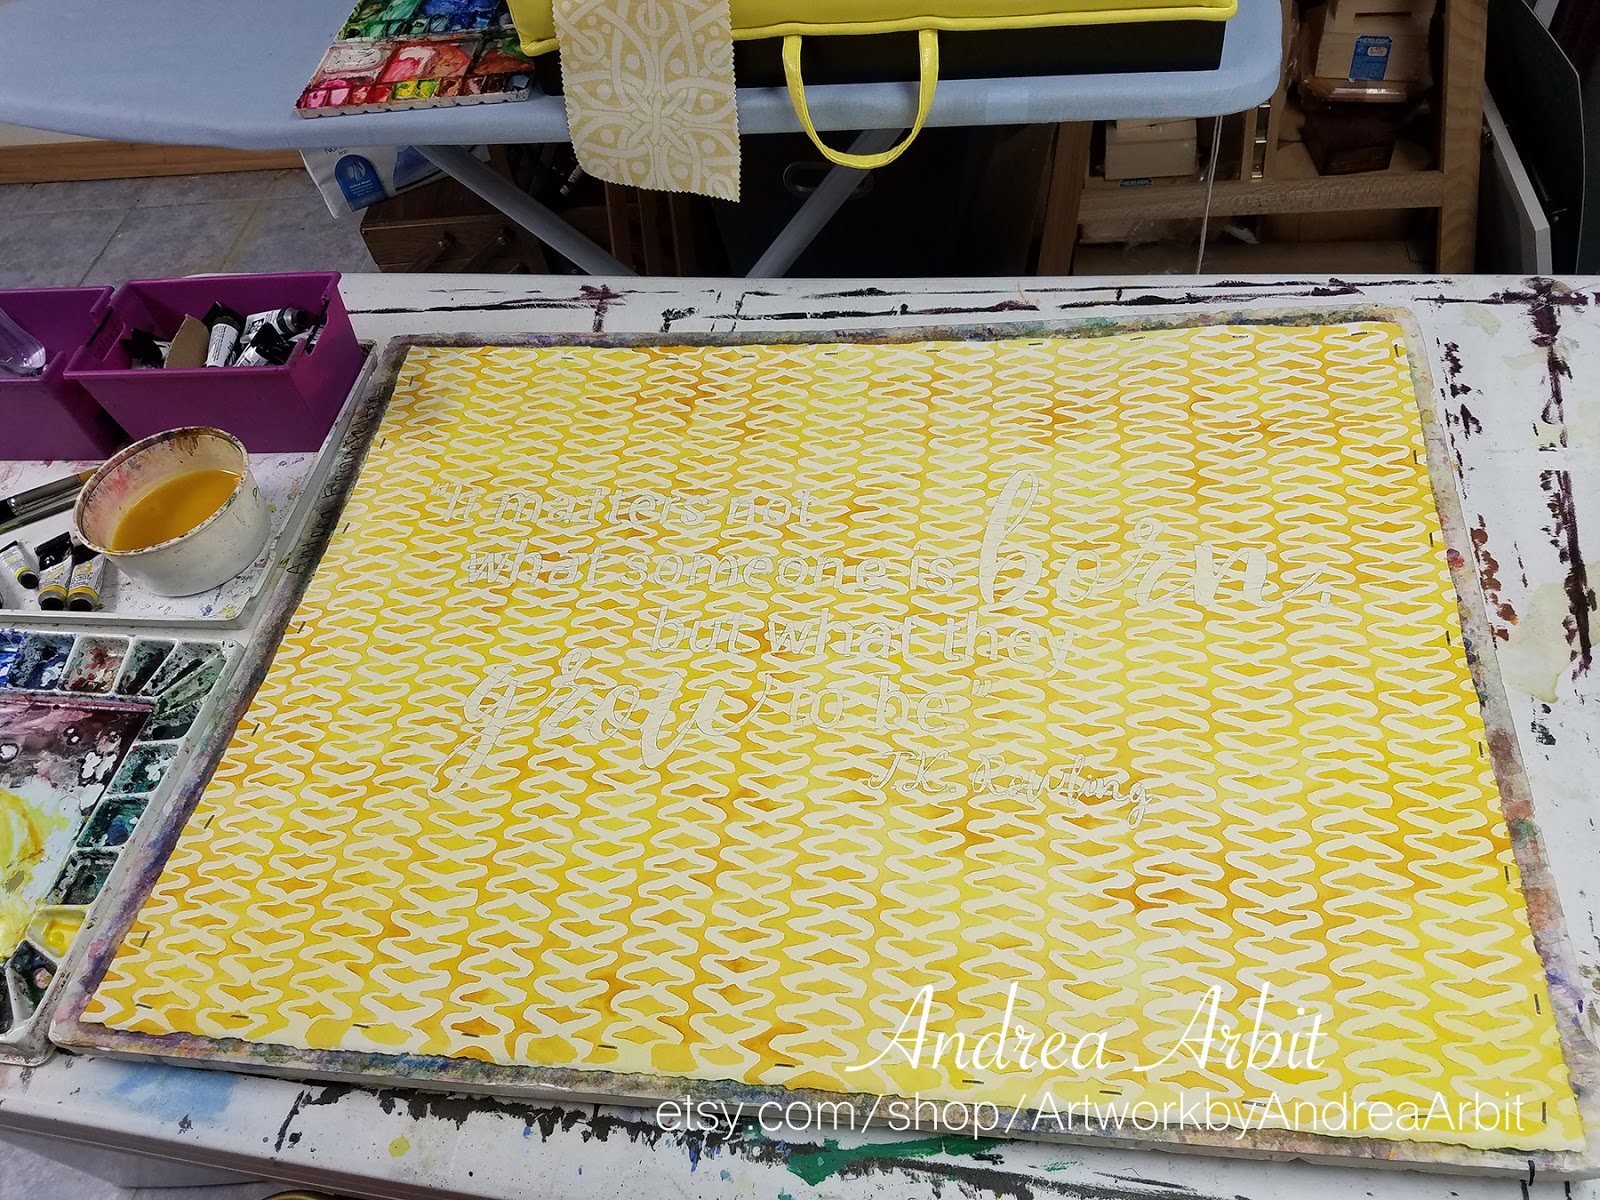
As I explained in last week's post, I painted this watercolor back in August and September, hanging it in the nursery long before our baby arrived to use it. It features a quote that I found inspiring, and which I hoped would inspire my future child (and me, when I was in the room for some late-night feedings and diaper changes): "It matters not what someone is born, but what they grow to be." - J.K. Rowling

After planning out the composition on the computer and tracing it onto watercolor paper, I then erased some of what I'd traced. Once watercolor paper is wet, you can no longer erase any stray pencil lines because the water "sets" the graphite. So I lightened up the pattern traced onto the background a bit, knowing that I would be painting the pattern yellow. (I knew some pencil lines would still always be visible, but that didn't bother me. They're only visible if you get really close to the painting and look for them.) The lettering I kept rather dark, since I knew I'd be painting the letters dark anyway, and my paint would cover the pencil lines there.


Once it was ready, I then soaked and stretched the paper. For smaller watercolors, I typically just tape or staple the paper down without pre-soaking it, since I can count on it not getting TOO wrinkled once it gets saturated with water, since it's a small piece of paper. But for larger paintings like this one, which was a full sheet of watercolor paper (22"x30" in size), I knew I needed to soak it first. Below is a picture of it soaking in the bathtub for about ten minutes:


I then stapled it with a staple gun to gatorboard, and brought it down two flights of stairs to my basement studio. There, I put a lot of yellow watercolor pigment down quickly, before it dried too much. I tried to make it a really saturated yellow, because with that much water, I knew it would dry a lot lighter. The middle two pictures below were when it was still wet; the last picture of this set is how light that yellow background was once it was dry.


After that first layer was complete and dry, I started in on the slow process of painting the pattern. I used two colors of yellow (cadmium yellow and lemon yellow), as well as a brownish-orange pigment to give the background a bit of depth. I blended these three colors together with wet-on-wet technique as I went through the background row by row.


Here is the painting with the background pattern complete:


Now all that was left was to paint in the letters to finish it off! I'll show the photos of that step next week, as well as how the final result turned out.

Saturday, January 18, 2020

Planning for Nursery Artwork

In August and September last year, I created 5 watercolor paintings for our nursery: three smaller paintings, 8"x10" in size, each featuring a cartoonish woodland creature (a fox and two owls), and two larger watercolors, 22"x30" in size, each featuring one of my pattern designs and a quotation.

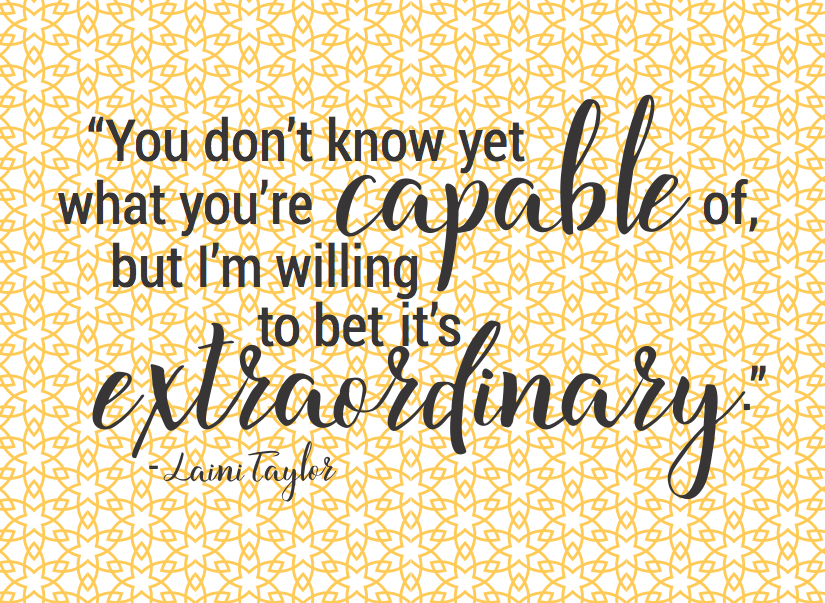
I picked out one quotation; my husband picked the other. The first was from Harry Potter and the Goblet of Fire, by J.K. Rowling - "It matters not what someone is born, but what they grow to be." The second was from Muse of Nightmares by Laini Taylor - "You don't know yet what you're capable of, but I'm willing to be it's extraordinary." These were quotes that we found inspiring, and with messages that we wanted to instill in our baby, both from female authors who'd written works we loved.

I spent some time working out the composition on my computer first, spacing out the quotations in Adobe Illustrator and coupling each with a pattern. I knew I wanted to use a script-y font for some of the words but not the whole quotation, so I picked what I considered to be the two most important words in each quote, and decided to make those large and in the script font I liked, while keeping the rest of the quotation simpler.

I also considered using multiple patterns in the background (since I have so many patterns I've designed, might as well use them, right?) but it ultimately kept looking too busy, no matter which combination of patterns I tried. So I decided to use just one single pattern for each painting.

Here are the two digital compositions I created:


Once I had the design, I printed them 8.5"x11" size to show my husband and get his approval before tiling them out and printing them to size. Each painting used 12 sheets of 8.5"x11" paper, with 1/12th of the design printed on each piece. I then taped these pieces together to make the 22"x30" design, so I could trace the pattern and quote onto my 22"x30" full size watercolor paper.

Here is a close-up of the two patterns traced onto two sheets of watercolor paper:


Here is the entire first quotation, traced and ready for me to start painting:


And here is the entire second quotation, traced and ready to go:


I did something similar for the three smaller woodland creatures - I found images of cartoon owls and foxes that I liked online, printed them out, and traced them onto 9"x12" watercolor paper (so that there would be room around the edges for me to tape down the paper while I was painting).

With my planning complete, I was ready to begin the real fun! My next several posts will show the step by step process of how I painted and finished off these watercolors, hanging them in the nursery before our baby's arrival.

Saturday, January 11, 2020

Pattern Keiko in Green

"Pattern Keiko in Green" was also completed several months ago. It's another 8"x10" watercolor painting, based on a pattern I designed in Adobe Illustrator.

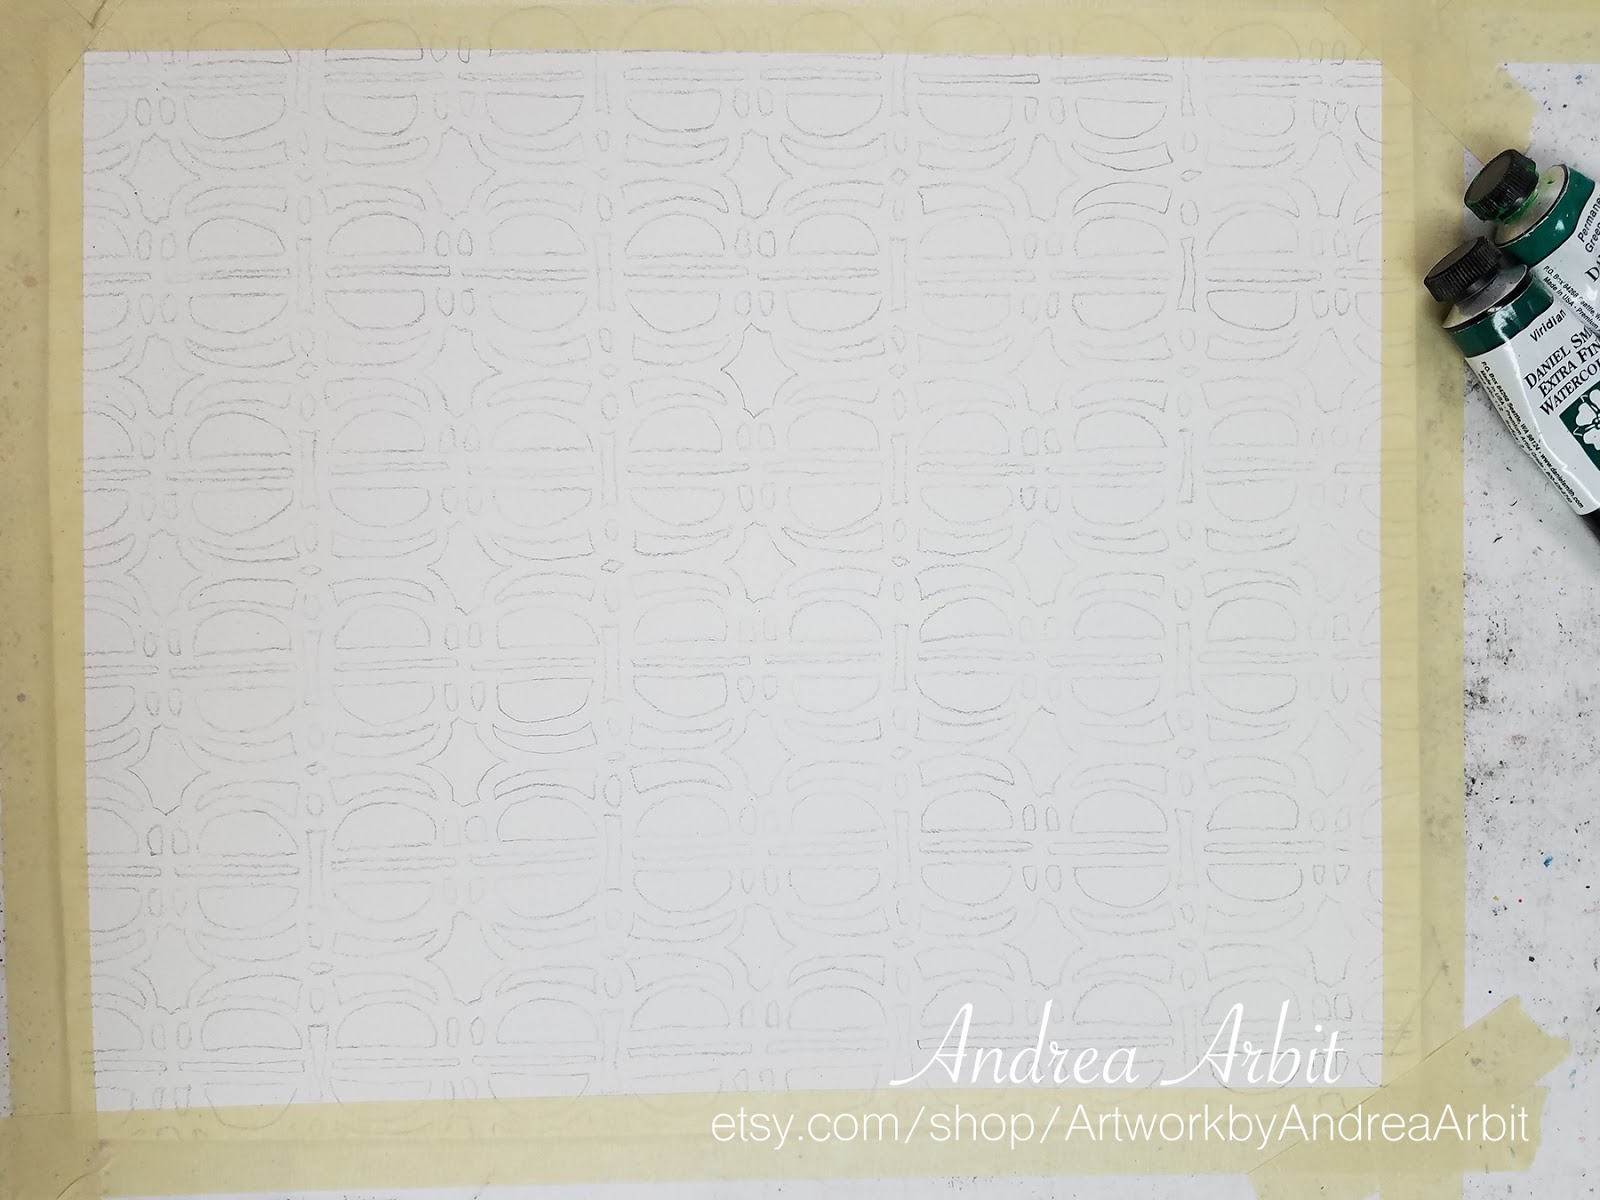
I traced the pattern onto paper and taped it down to keep the paper flat while I painted. I used two shades of green - one darker and one lighter - to give this green geometric painting some dimension.

Below are the in-progress pics of starting this painting:


And here are the photos of the finished piece:


This particular painting is not yet listed for sale on Etsy, but in the meantime, check out the several watercolor sets of patterned paintings I do have in my Etsy shop - framed and ready to hang!