A couple months ago, I decided to dress up our new WiFi thermostat. It was slightly smaller than our previous thermostat, and so it left some of the white wall color visible around it, even though we painted the rest of the walls in that room a pretty jade green the year before.
First, I bought a cut wooden frame from Michael's that had a pretty pattern I liked. It was probably $2 or $3. Then, I scoured through my art supplies and found three tubes of acrylic paint that I thought would look nice together: a dark pink, metallic red, and pearl/metallic white. I mixed these together and painted the wooden frame.


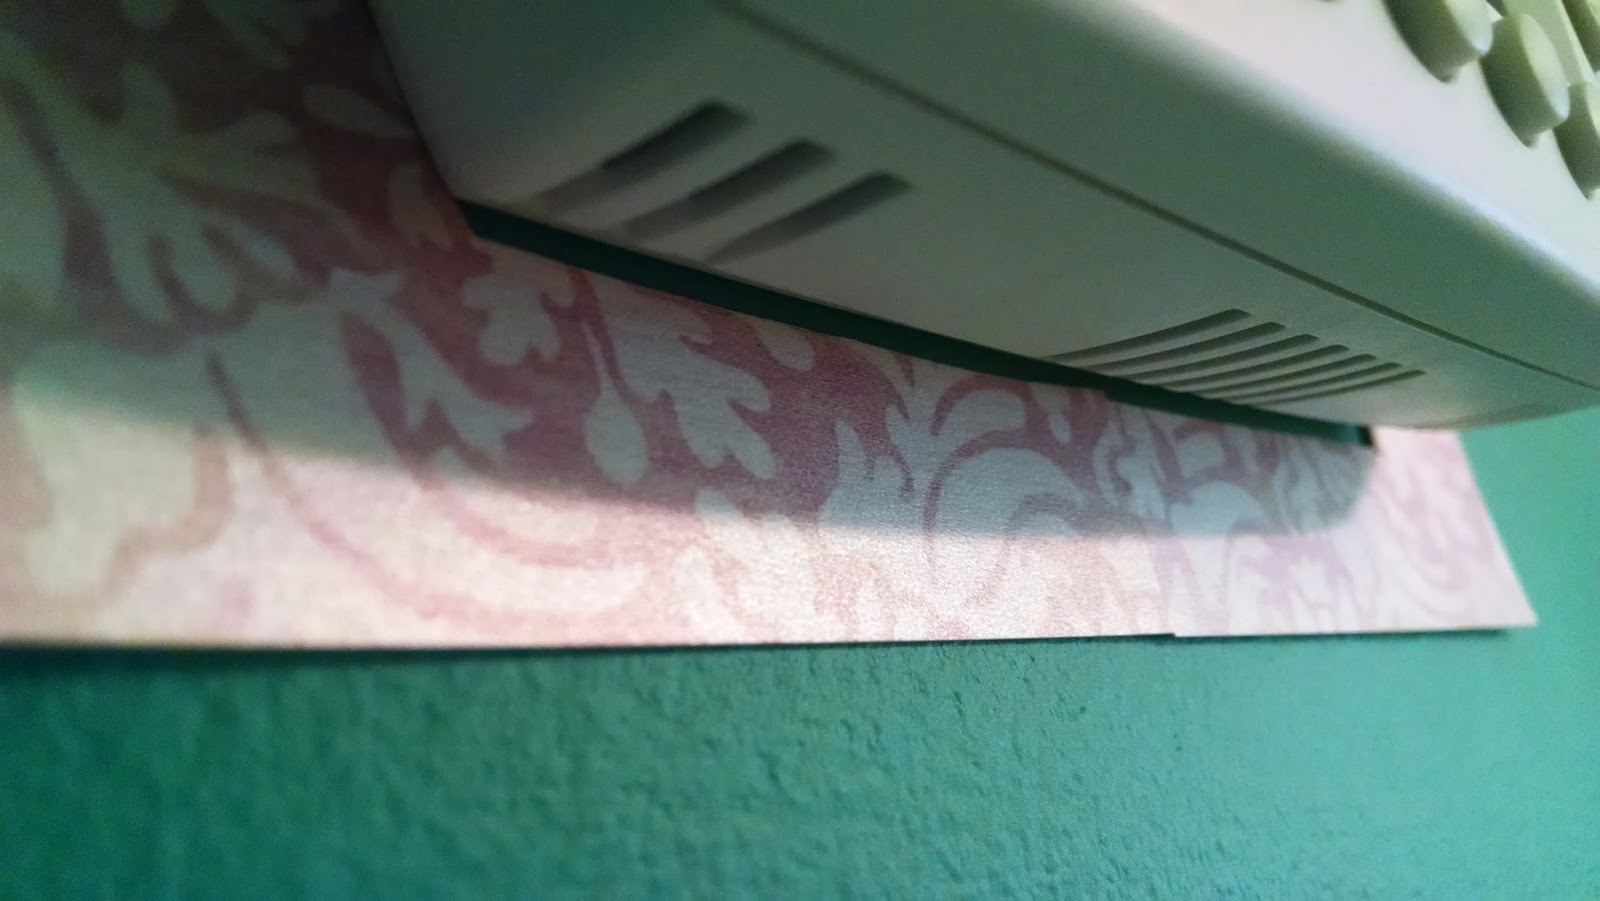
Next, I scoured through my stores of scrapbook paper and found a piece of metallic patterned paper that I thought would match the color of the frame and the design of the pattern around it. I cut it to 5"x7" (since that was the opening of the wooden frame), and then cut out the shape of the thermostat. I cut a slit at the bottom so that I could get the paper over the thermostat, and then hung the paper there.
I did not attach the paper to the wall. It stayed in place because the front of the thermostat was slightly larger than the base where it hit the wall. Also, I knew I'd be nailing the frame on top, and that that would also help the paper stay in place.


When the frame was dry, I nailed it to the wall so that it covered the edges of the scrapbook paper. Voila!


Much prettier than it looked before. :)

First, I bought a cut wooden frame from Michael's that had a pretty pattern I liked. It was probably $2 or $3. Then, I scoured through my art supplies and found three tubes of acrylic paint that I thought would look nice together: a dark pink, metallic red, and pearl/metallic white. I mixed these together and painted the wooden frame.


Next, I scoured through my stores of scrapbook paper and found a piece of metallic patterned paper that I thought would match the color of the frame and the design of the pattern around it. I cut it to 5"x7" (since that was the opening of the wooden frame), and then cut out the shape of the thermostat. I cut a slit at the bottom so that I could get the paper over the thermostat, and then hung the paper there.
I did not attach the paper to the wall. It stayed in place because the front of the thermostat was slightly larger than the base where it hit the wall. Also, I knew I'd be nailing the frame on top, and that that would also help the paper stay in place.

When the frame was dry, I nailed it to the wall so that it covered the edges of the scrapbook paper. Voila!


Much prettier than it looked before. :)

No comments:
Post a Comment